The Early Days
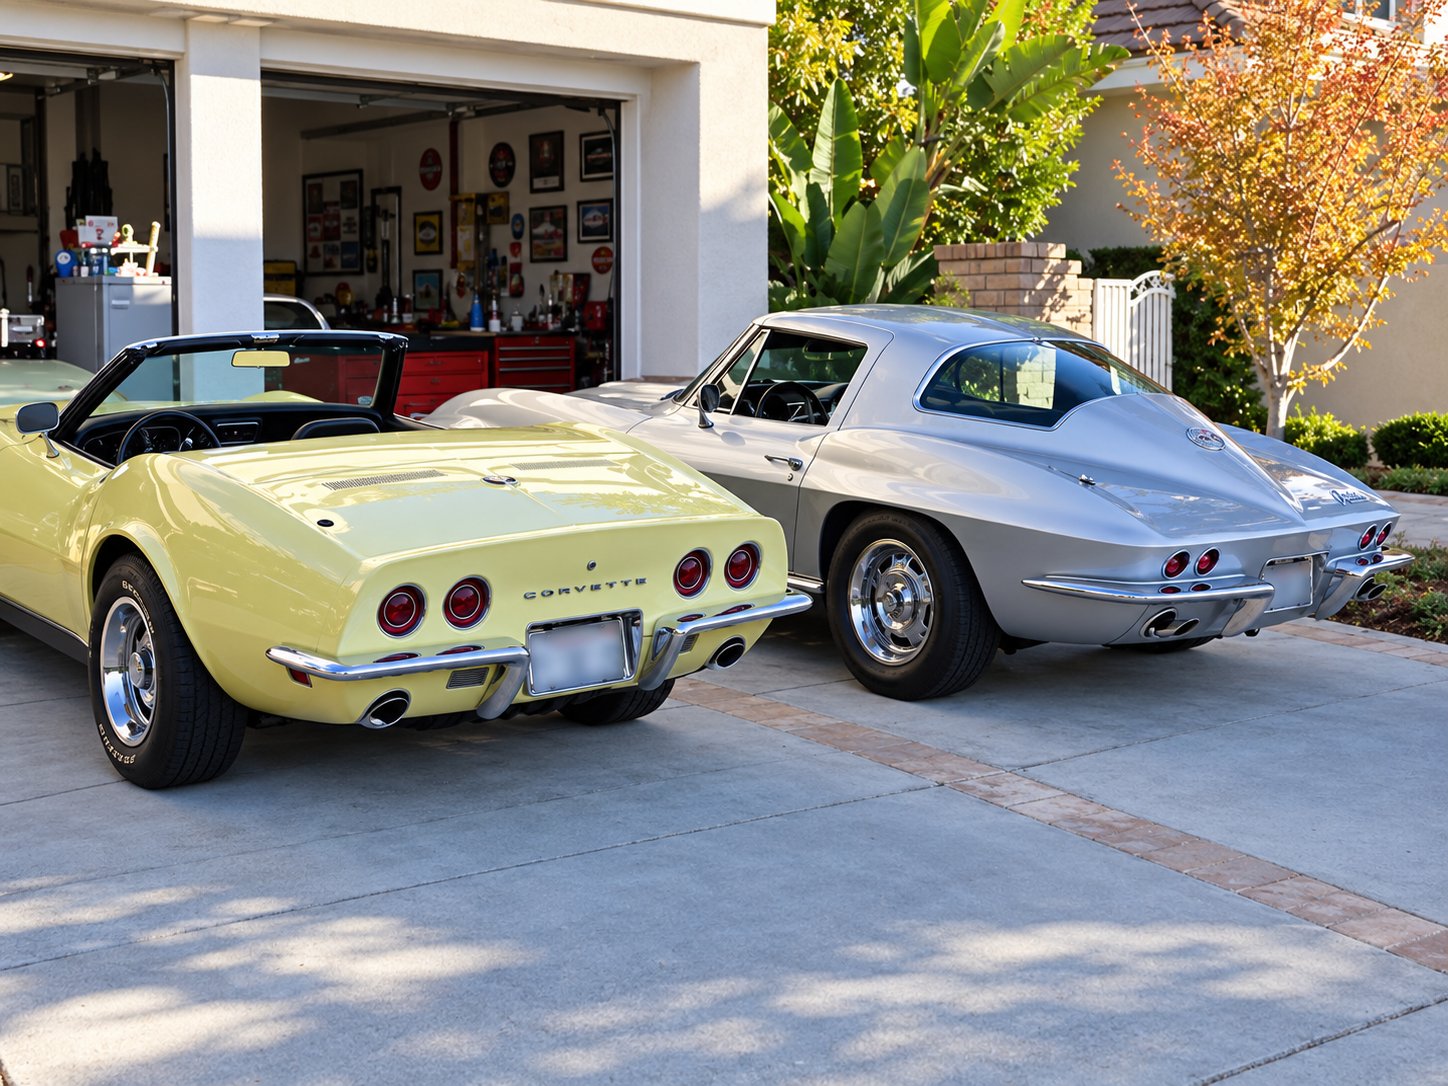
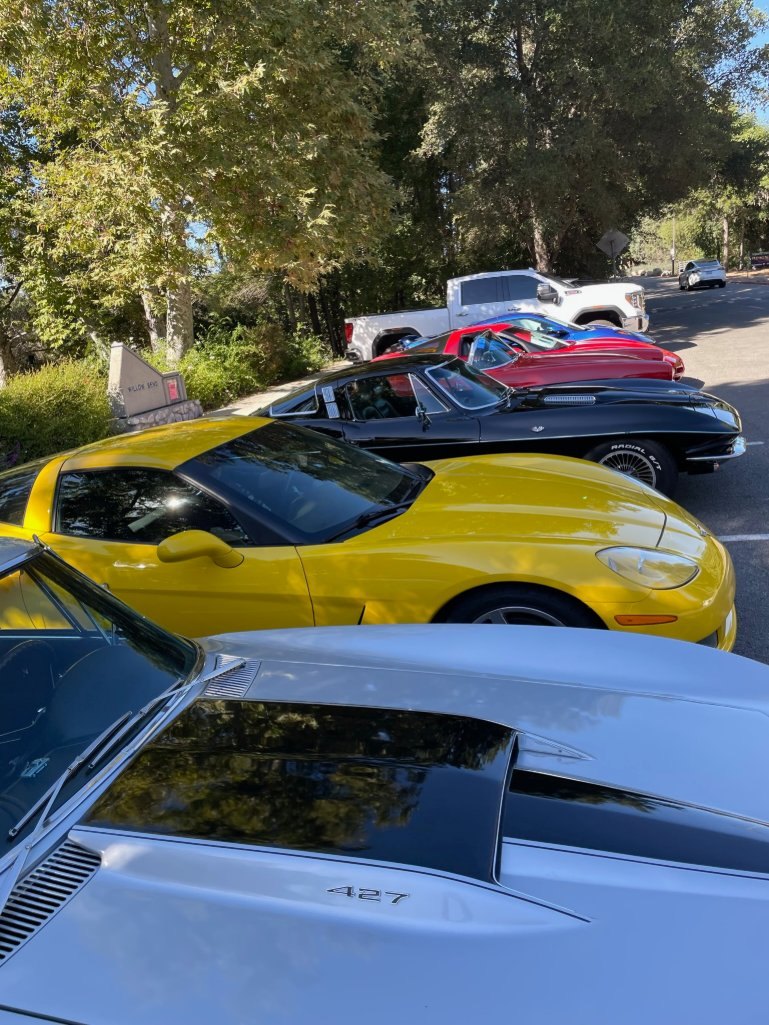
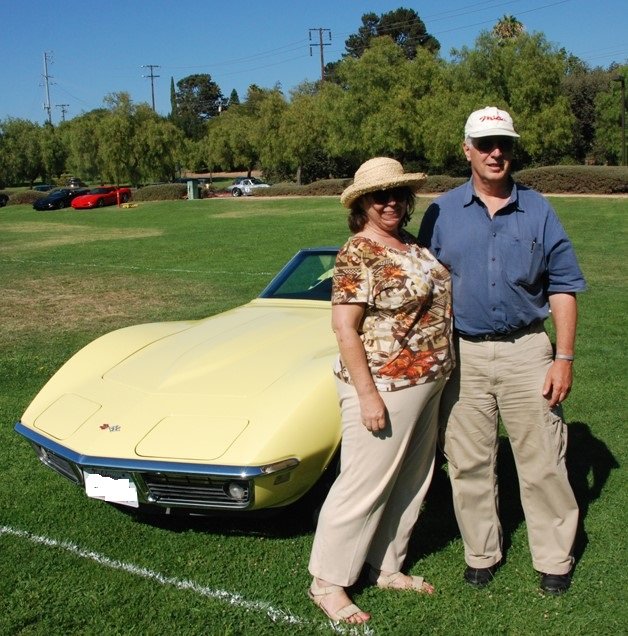
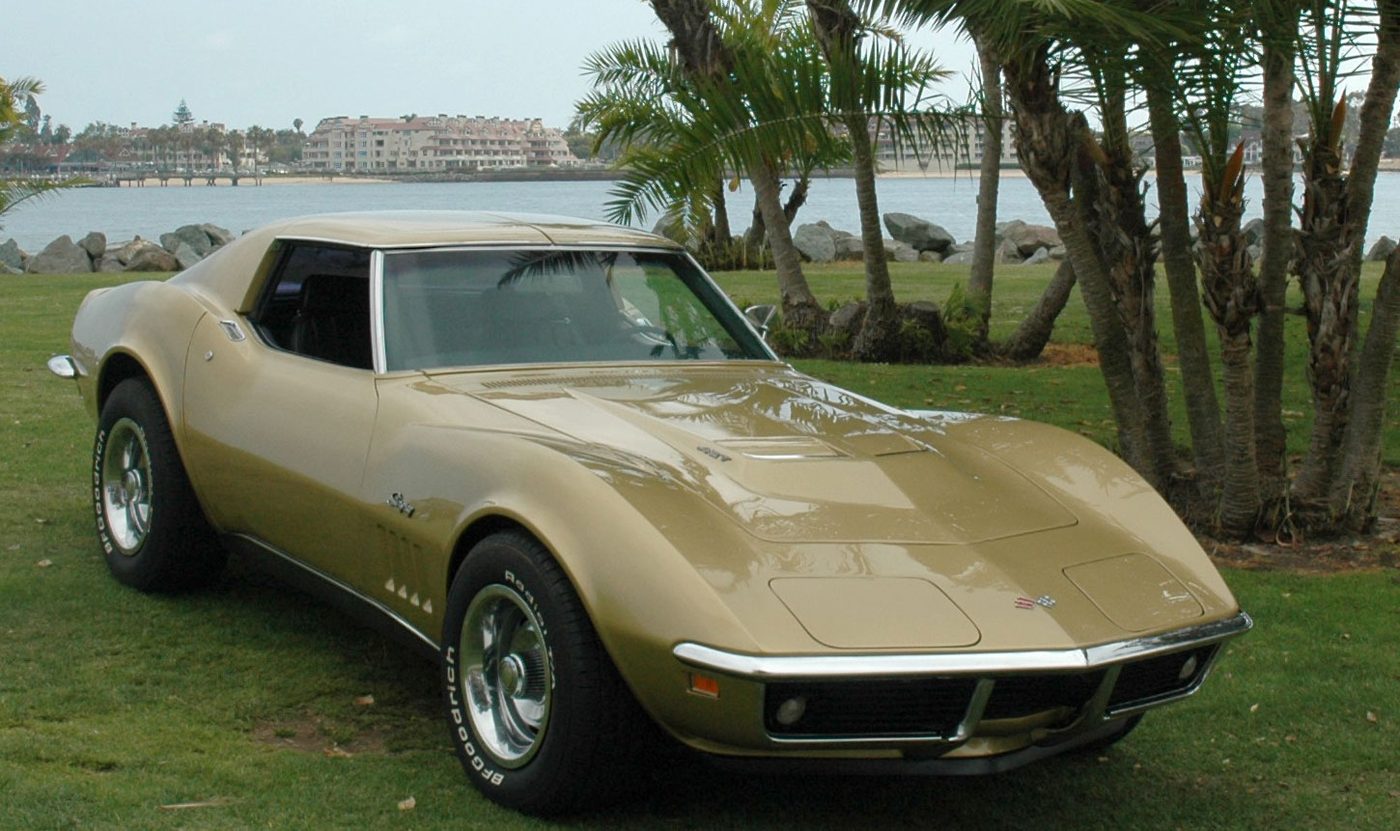
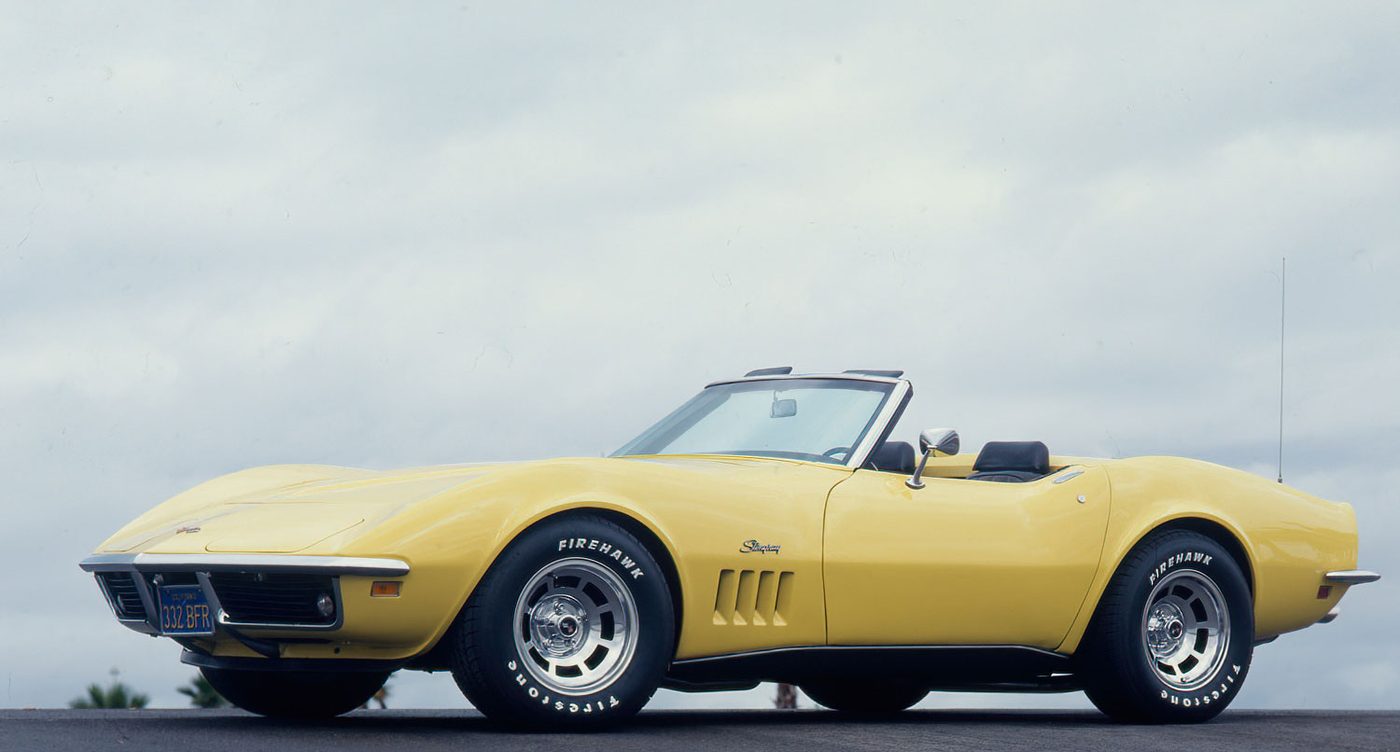
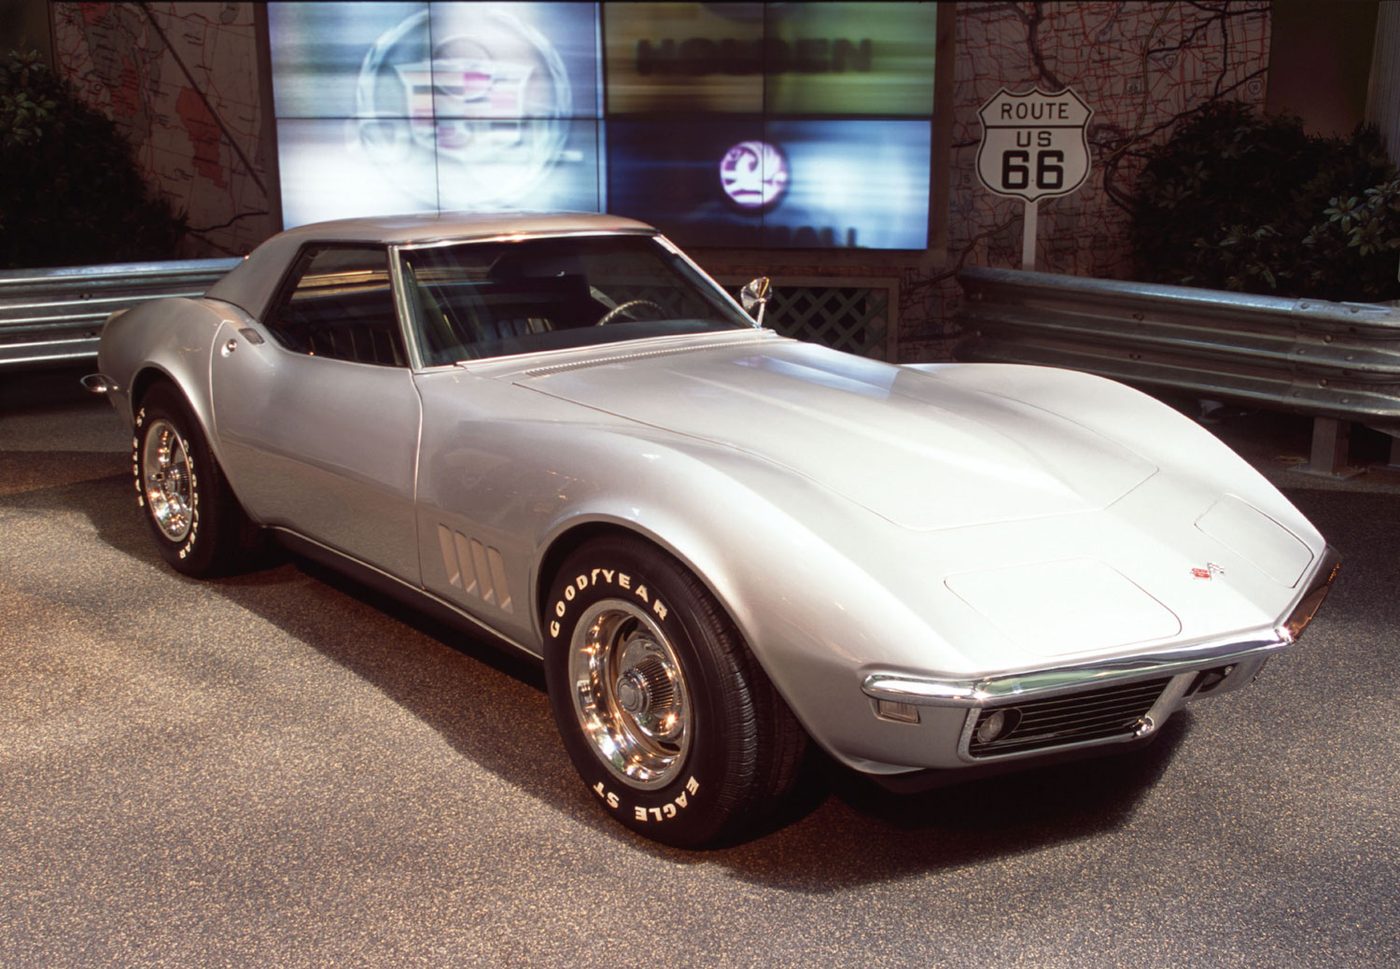
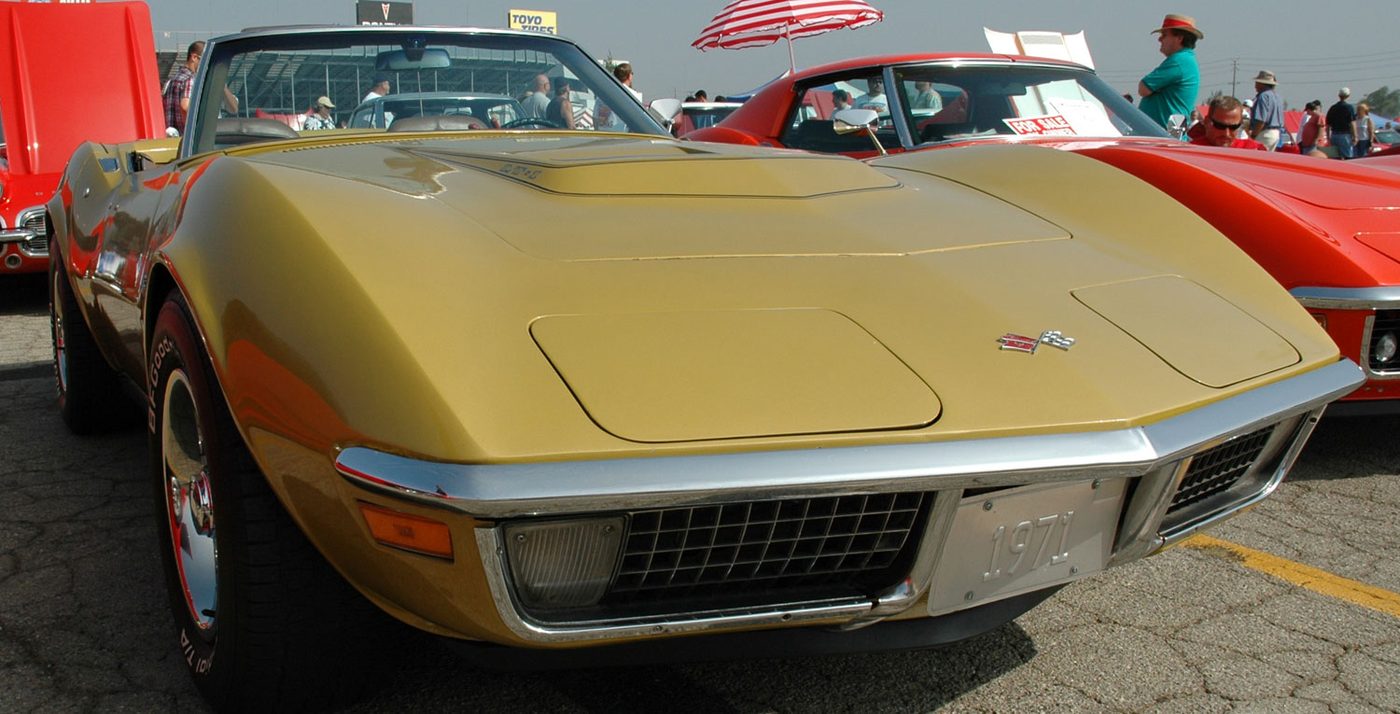
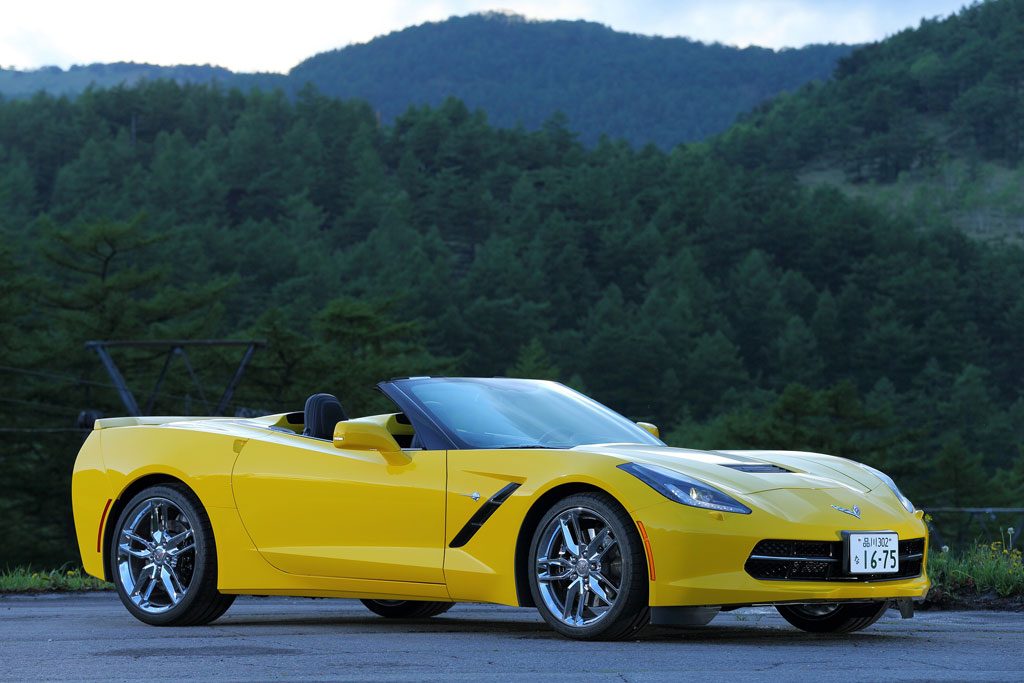
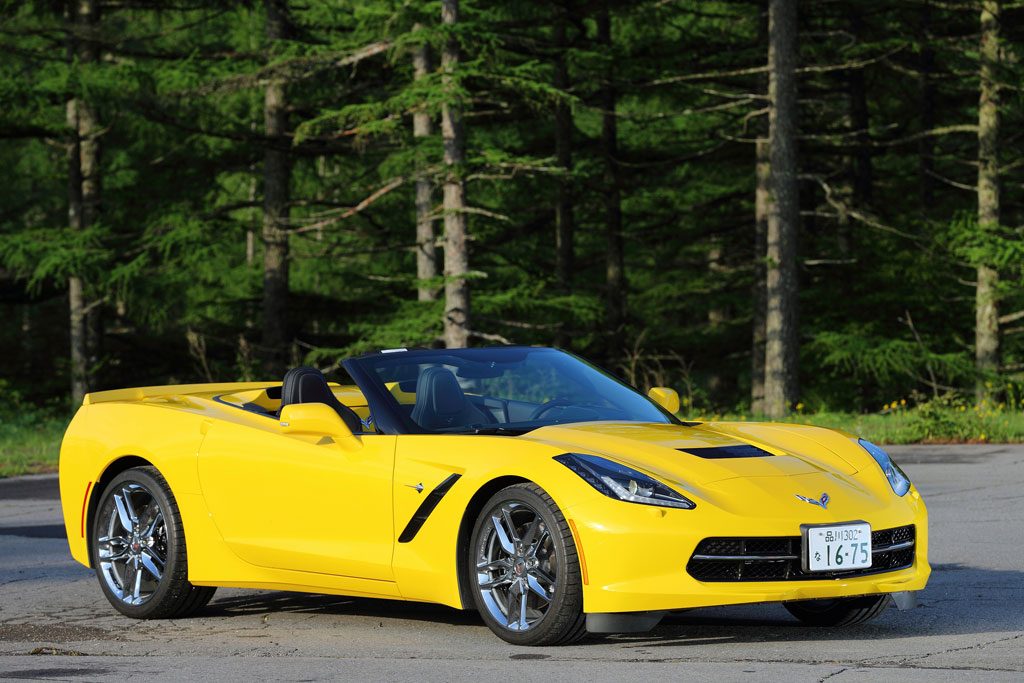
For the next two months "Safari" (its new nickname, in reference to the Safari Yellow color) became my daily driver. I have a 40 minute commute to work in Valencia which usually did not involve traffic. This was a getting to know each other phase.
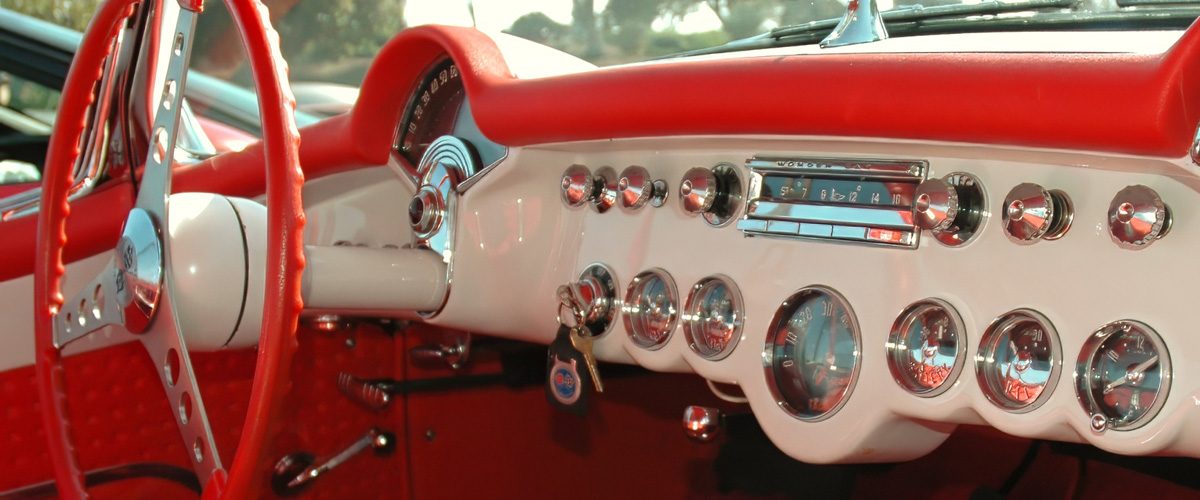
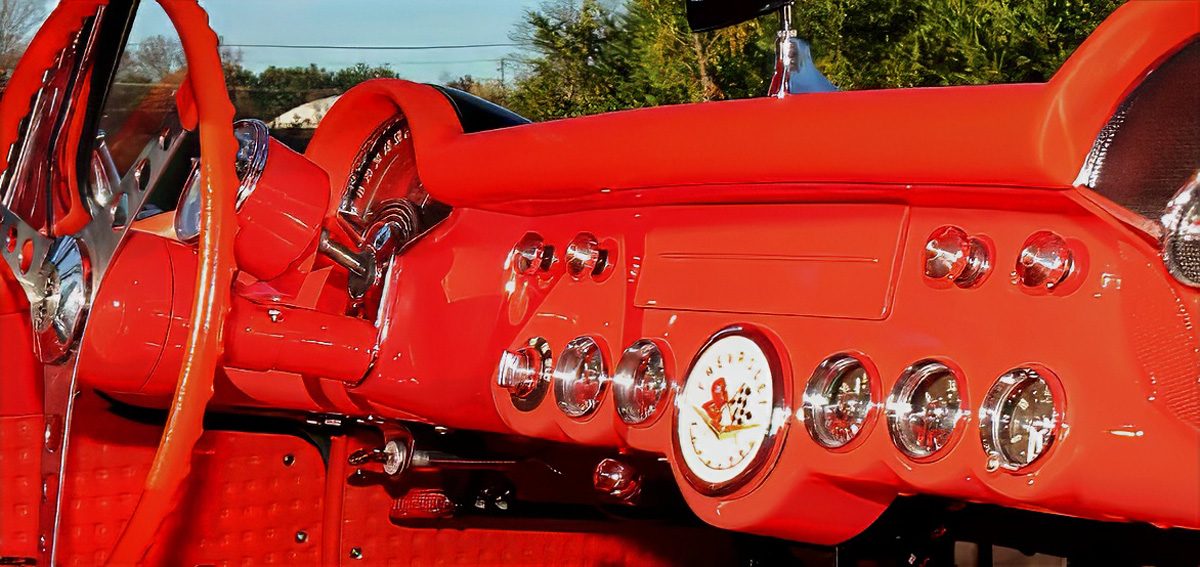
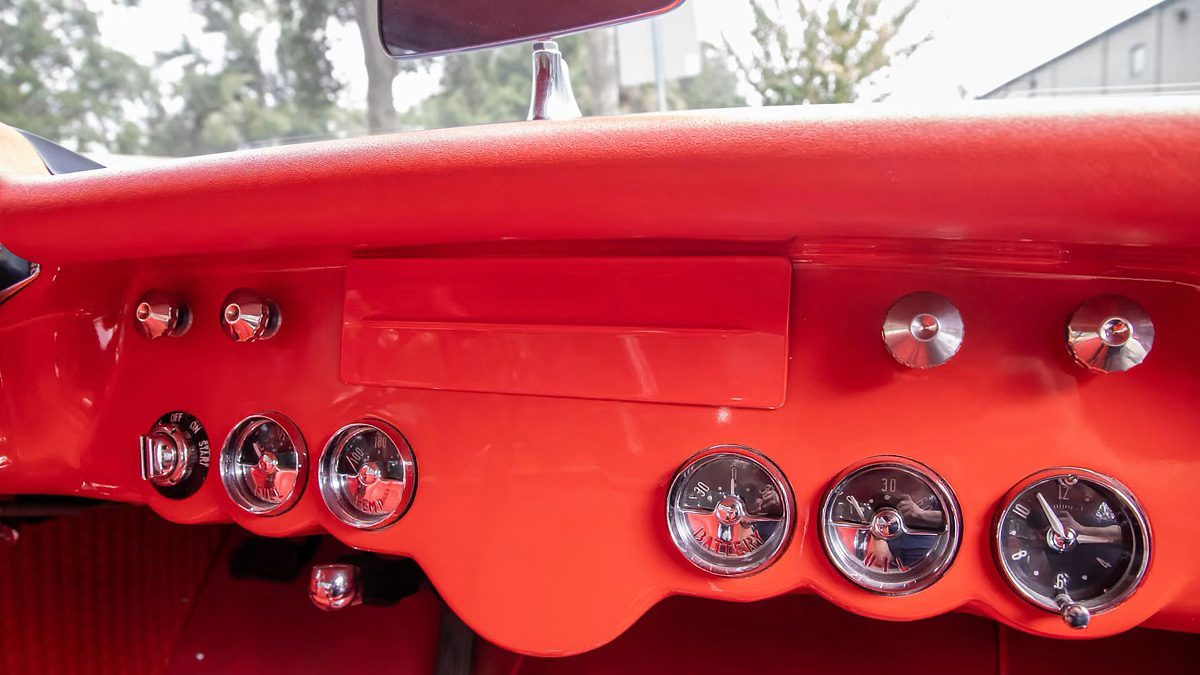
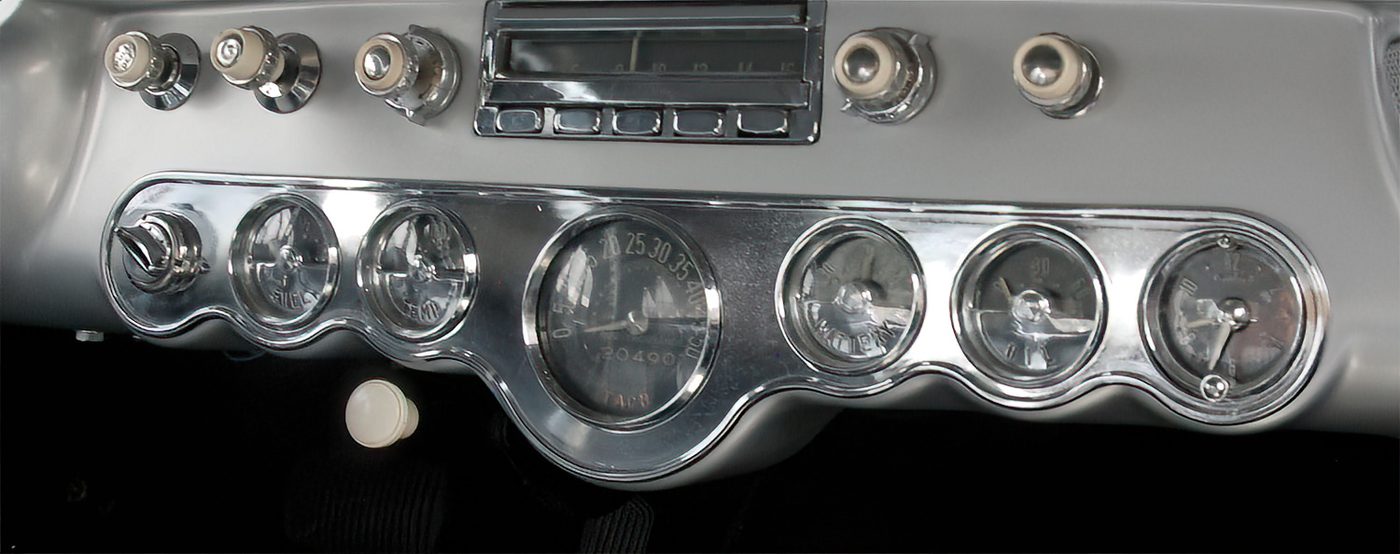
- The new (for me) position of the ignition key took some getting used to. It is located on the dash to the upper right of the tachometer. I was constantly going to the steering column and then having to remind myself that no, this car is different and the difference made it special. The steering column ignition mounting on modern cars was a federal requirement designed to reduce auto theft. That's a noble effort which is hard to argue with but it is nice to know that I was starting my car the way the designers wanted it to be started, not the way some insurance lobbyist thought was best.
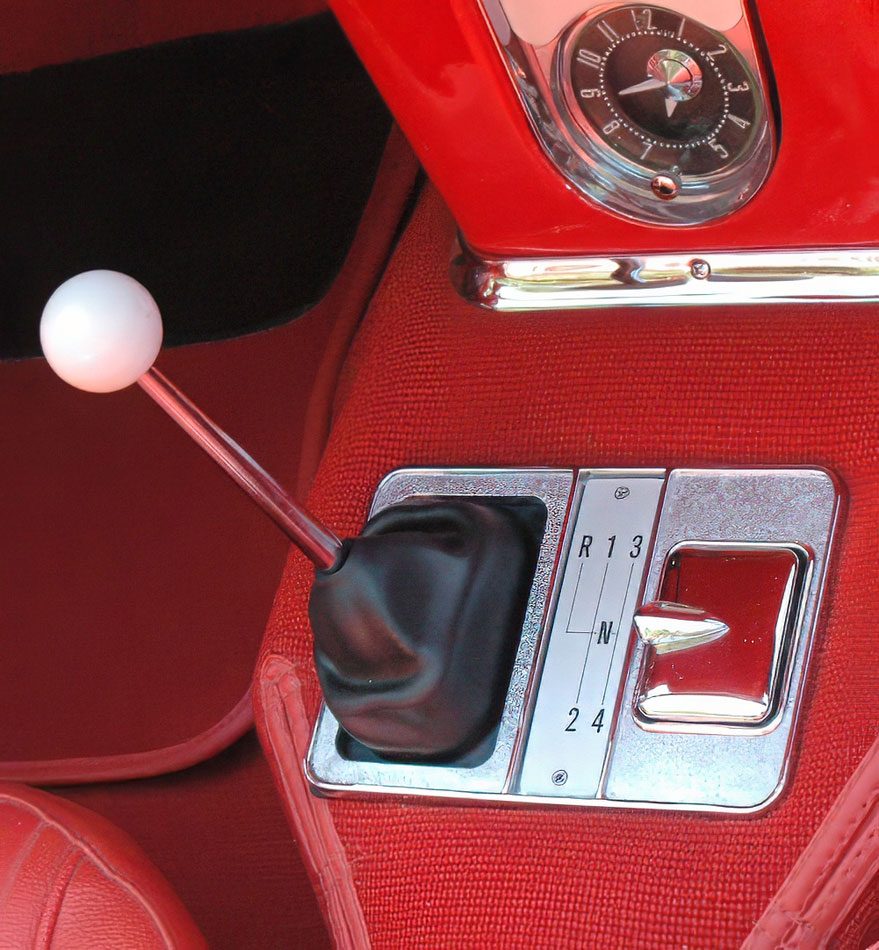
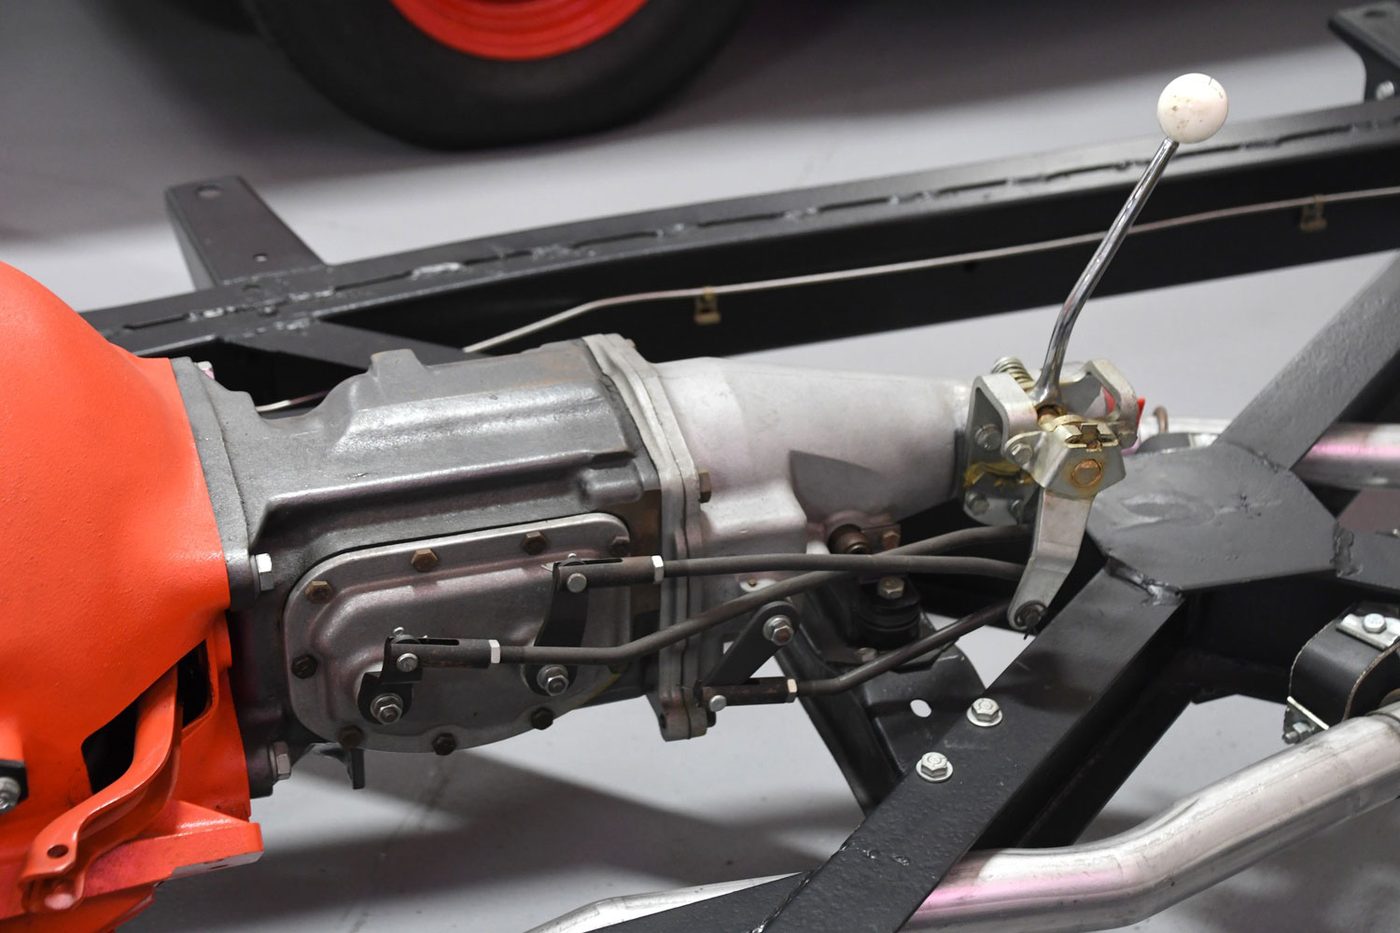
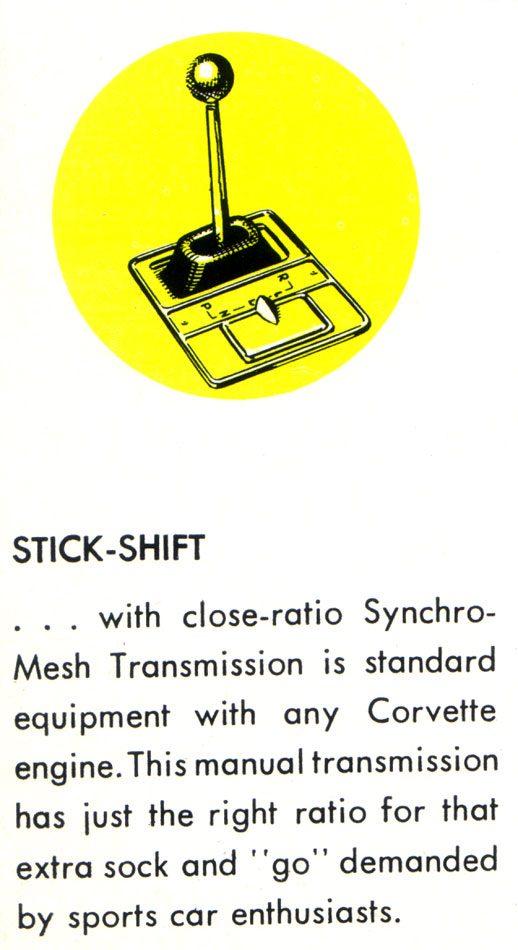
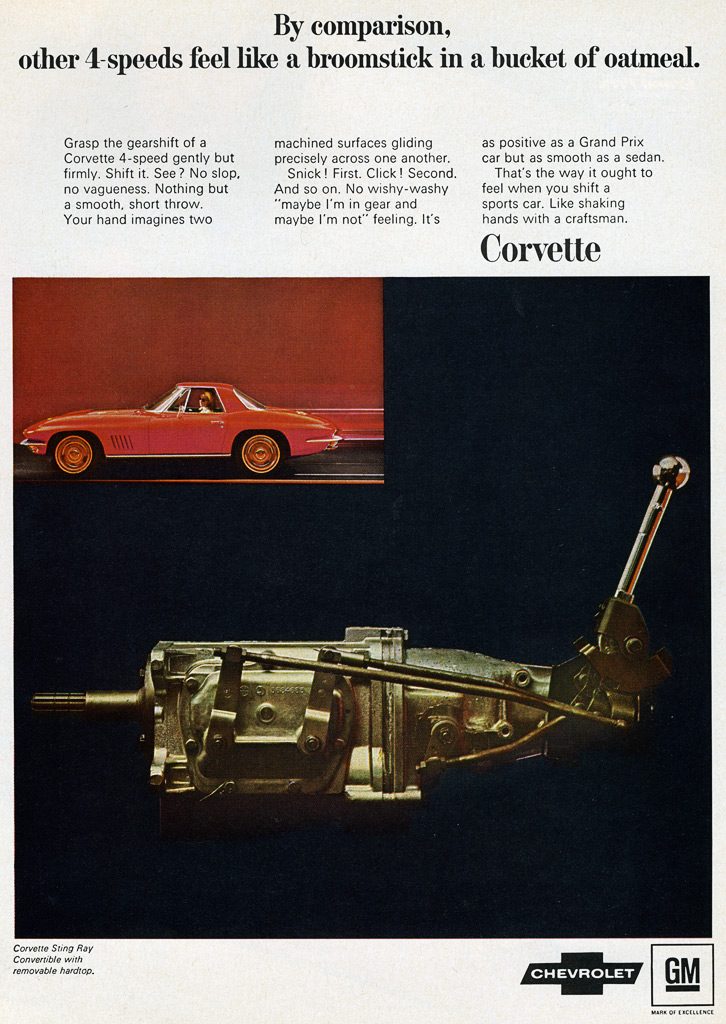
- Shifting was a new experience. The five speed manuals that I had been used to for the last 36 years became more of a habit than I had realized. Sometimes while enthusiastically running through the Corvette's four gears, while getting on a freeway for example, I would try to shift it into a non-existent fifth gear.
- The manual steering was not the big deal I thought it might be. I had been driving a manual steered 1990 Mazda Miata for the last 21 years, which probably helped.
- Driving a car as distinctive as a 1968 Corvette is different. People, mostly male, (unfortunately) have two questions: "What year is it?" and "What's the engine?". You also soon realize that if you plan on doing something you're not supposed to do, do not do it in a vintage Corvette. Acquaintances are always mentioning "I saw you at the corner of X and Y on Tuesday afternoon".
It took me about two weeks to become comfortable with the car. Comfortable as in a new pair of shoes, which, when first owned, take some getting used to. During that time I was wondering what surprises there might be. I was lucky in that respect; no breakdowns occurred and there wasn't an "OH NO!" moment. All proceeded as well as could be expected. I had purchased the right car.
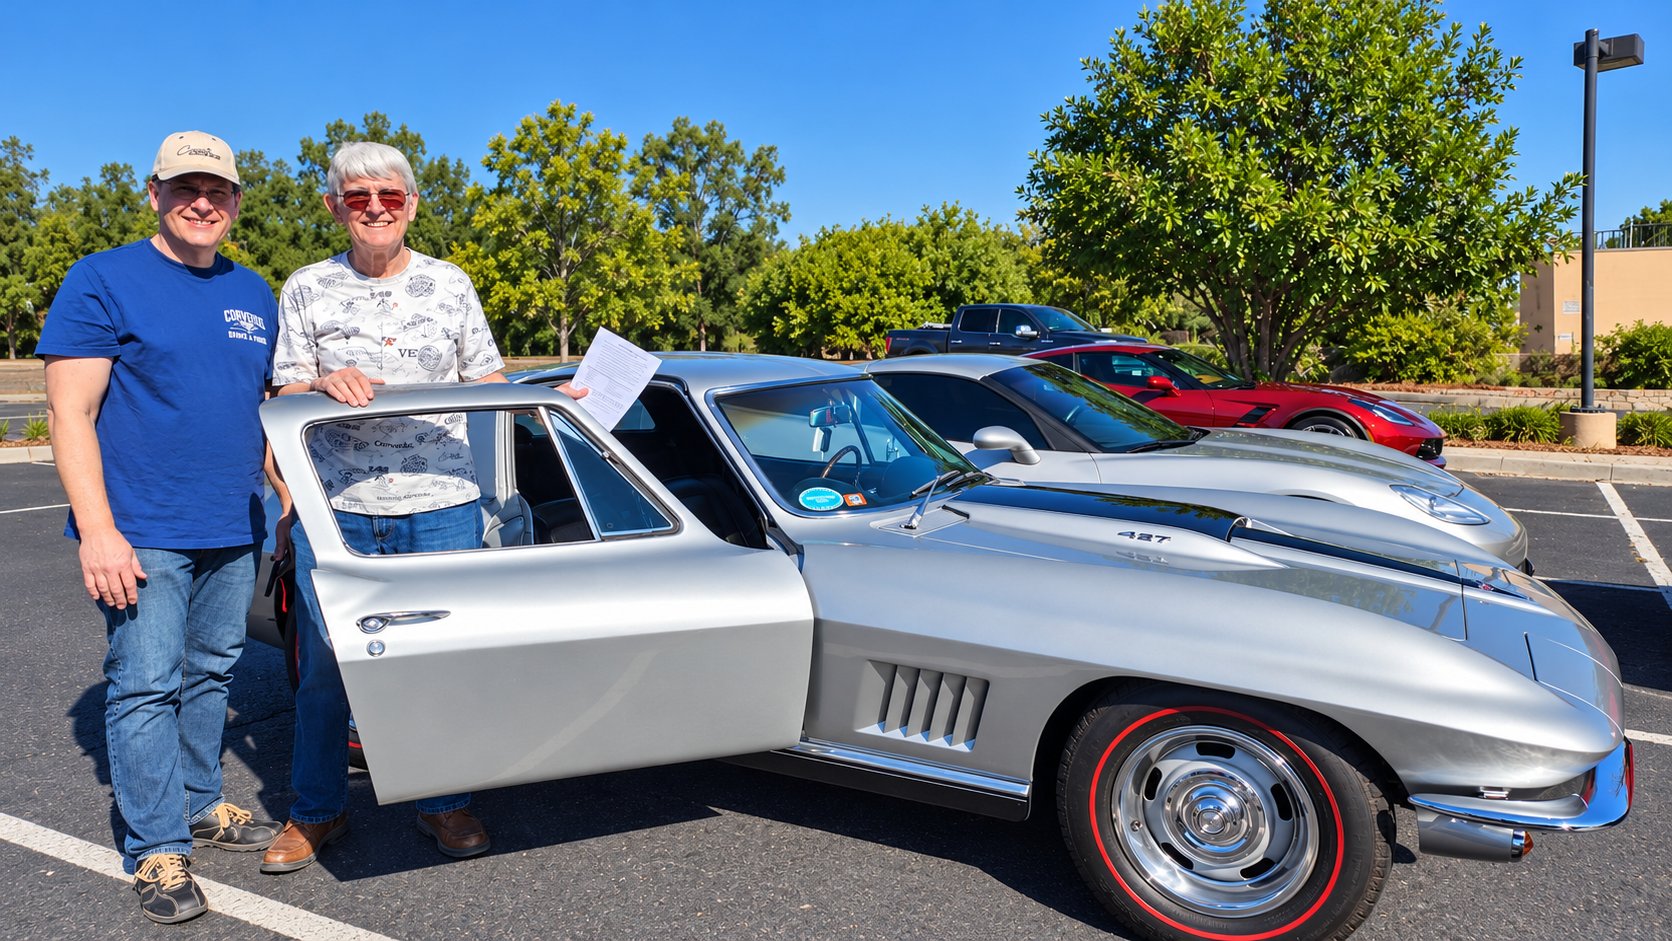
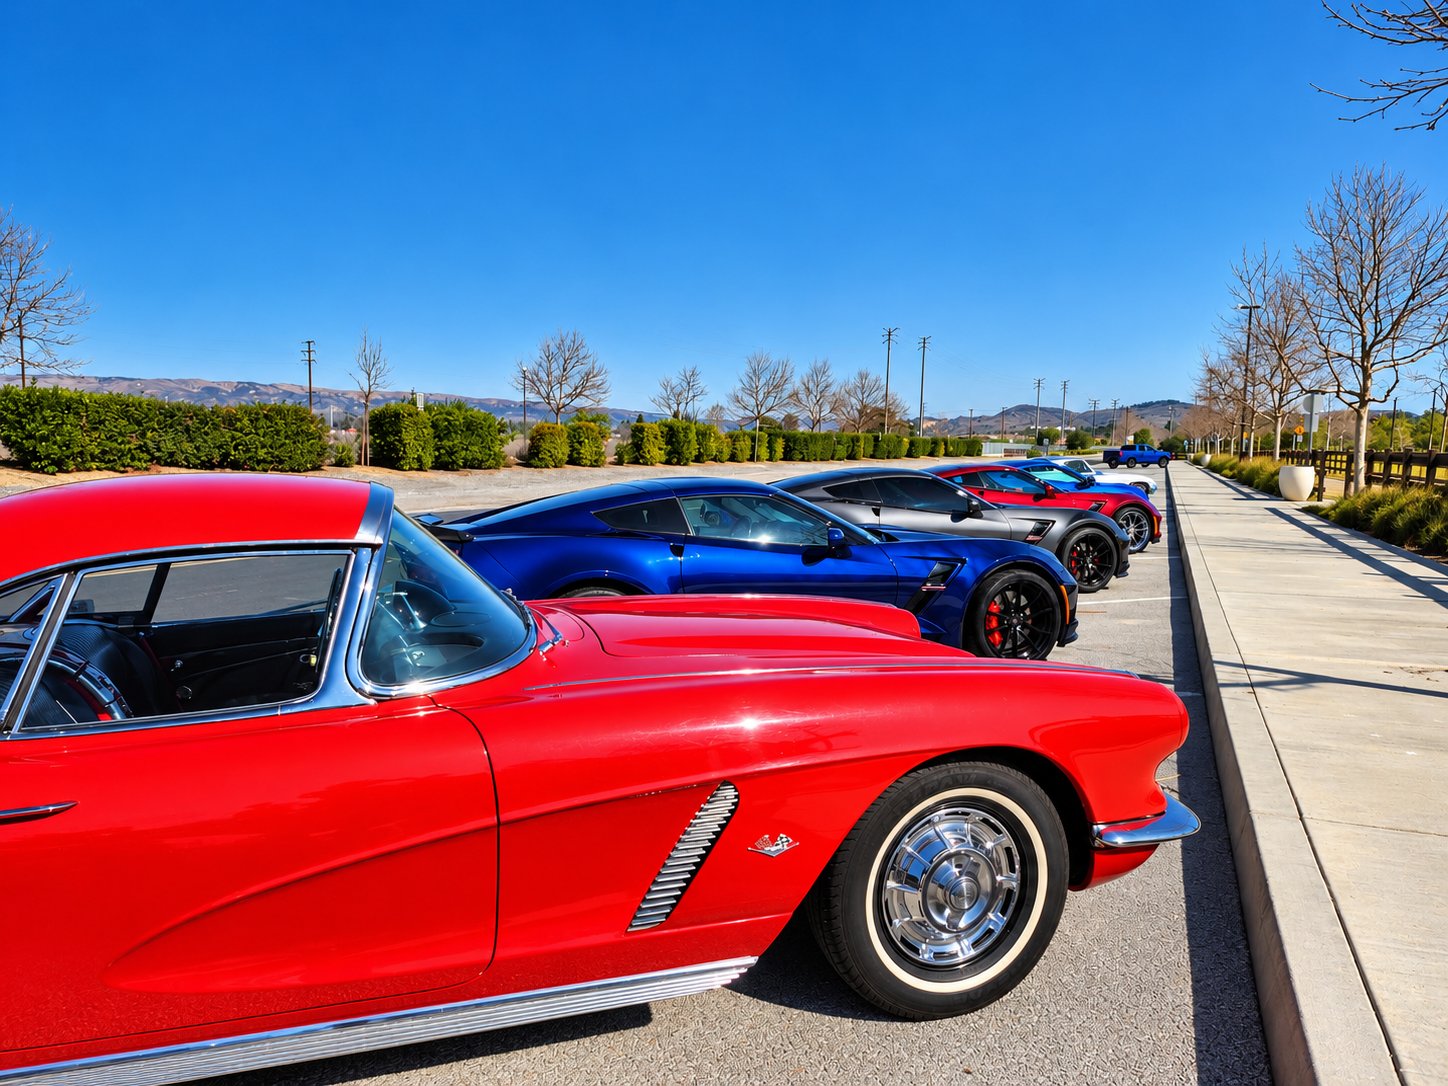
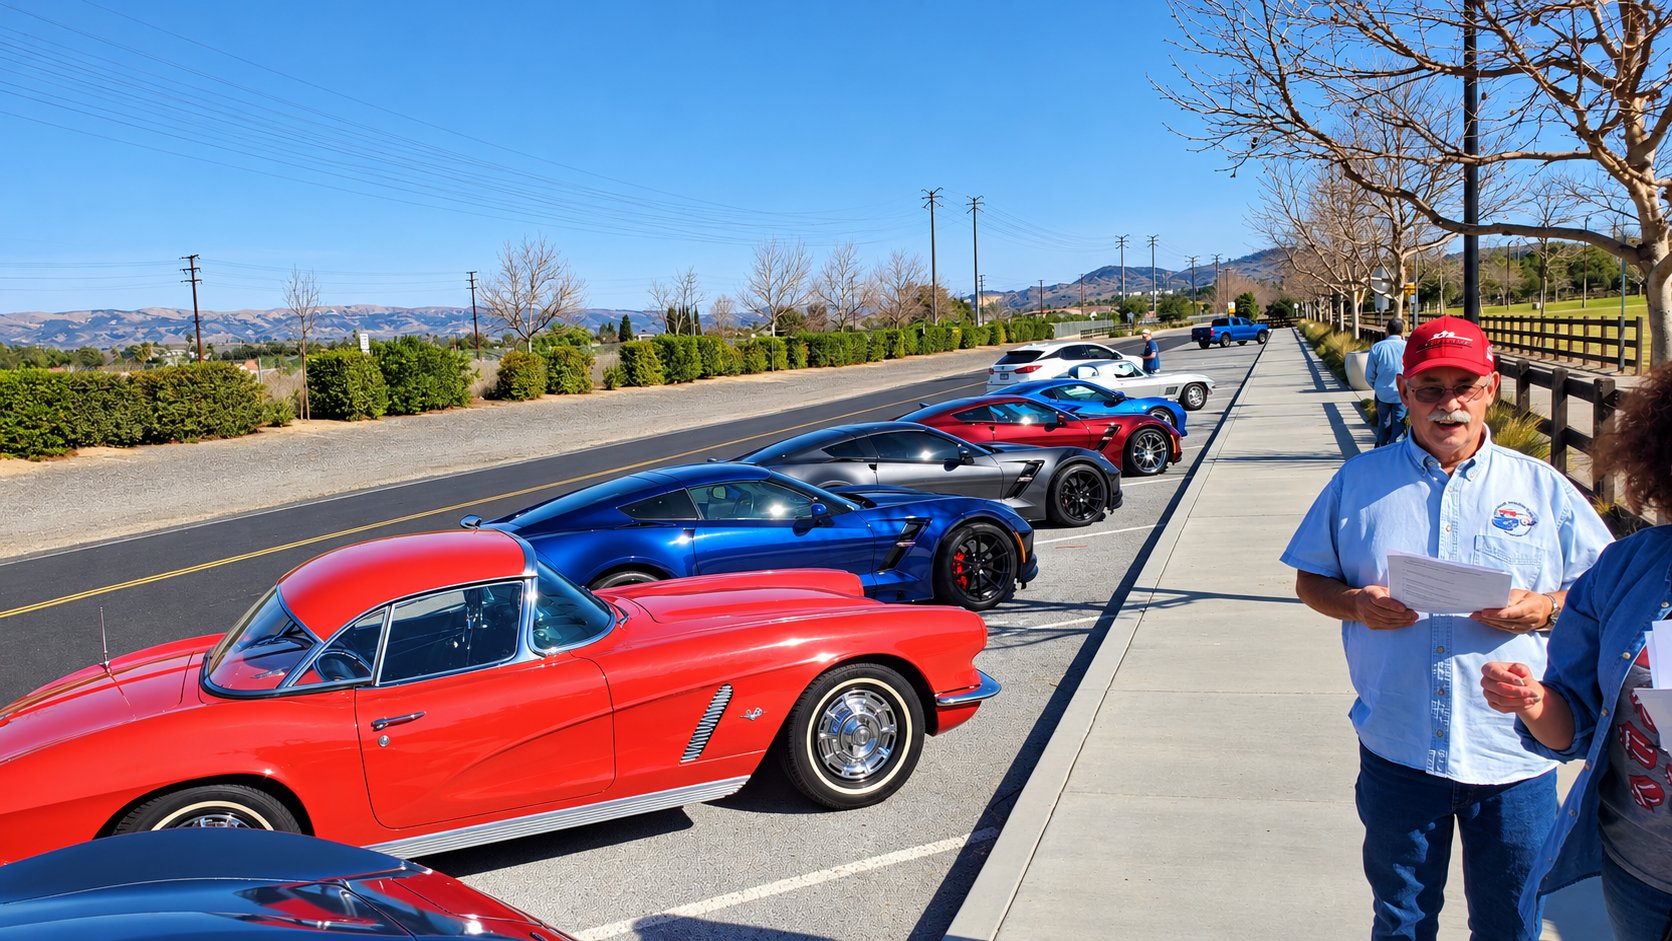
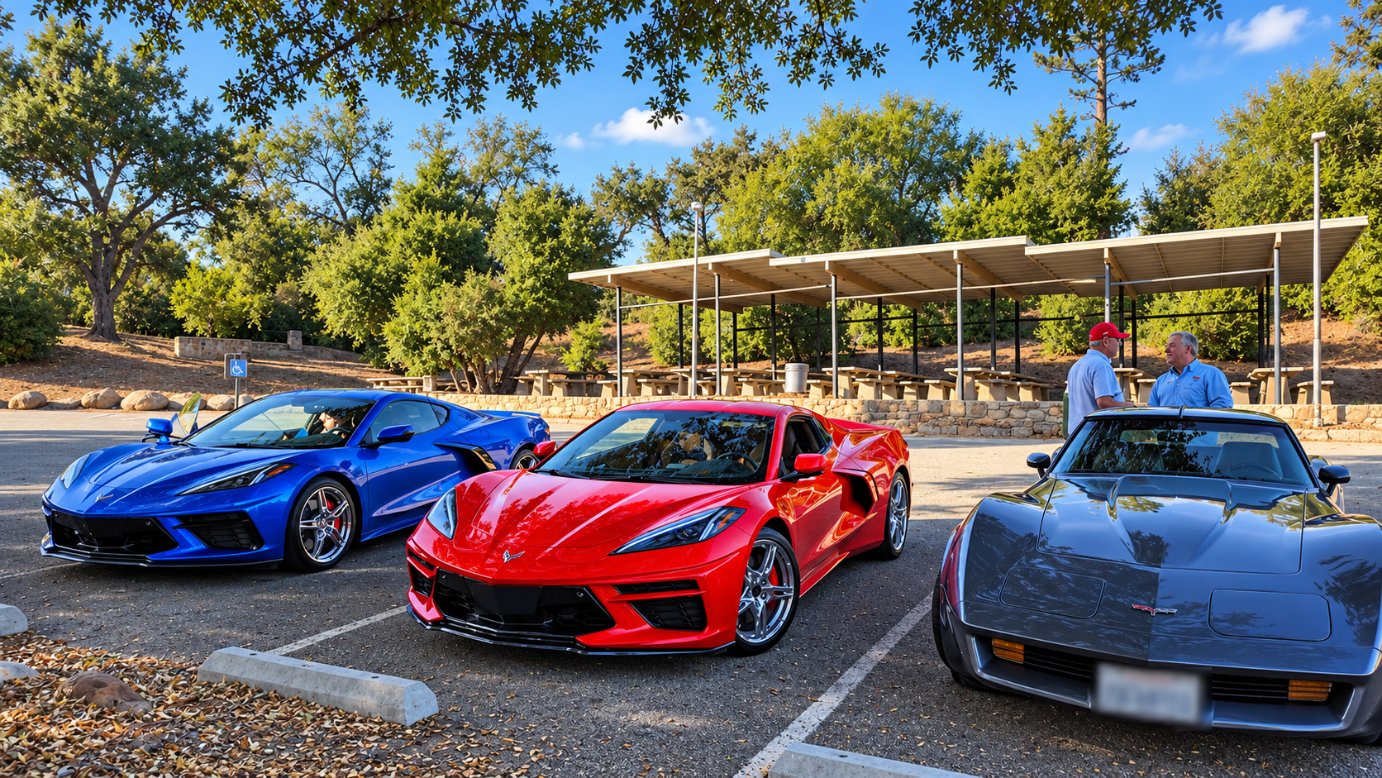
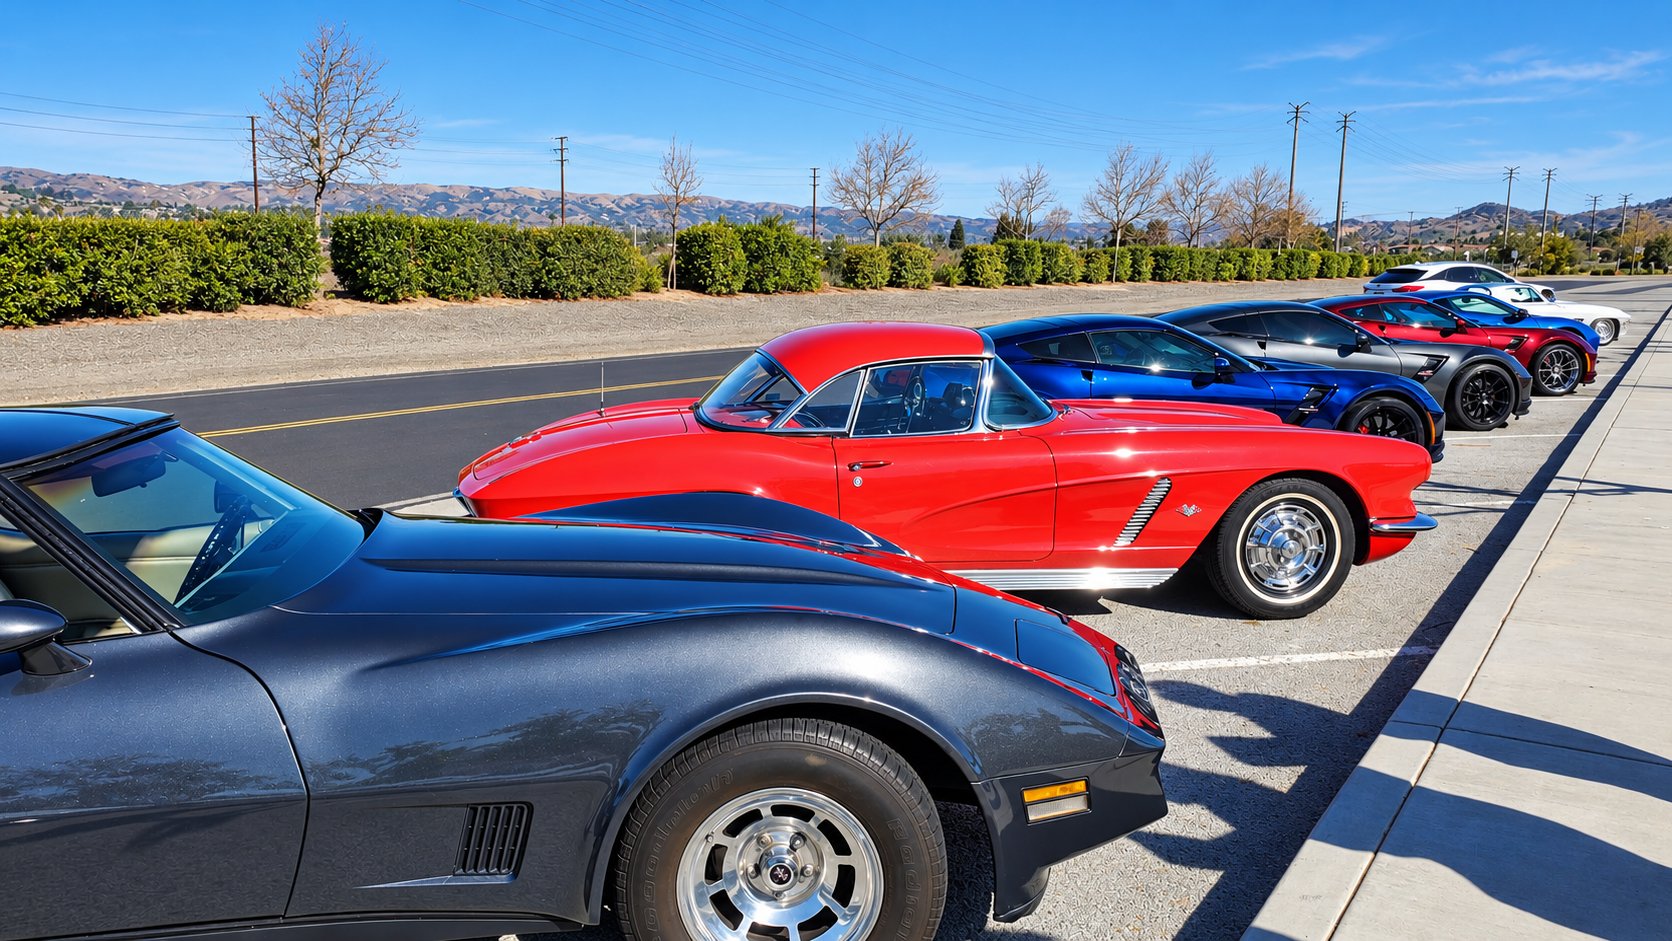
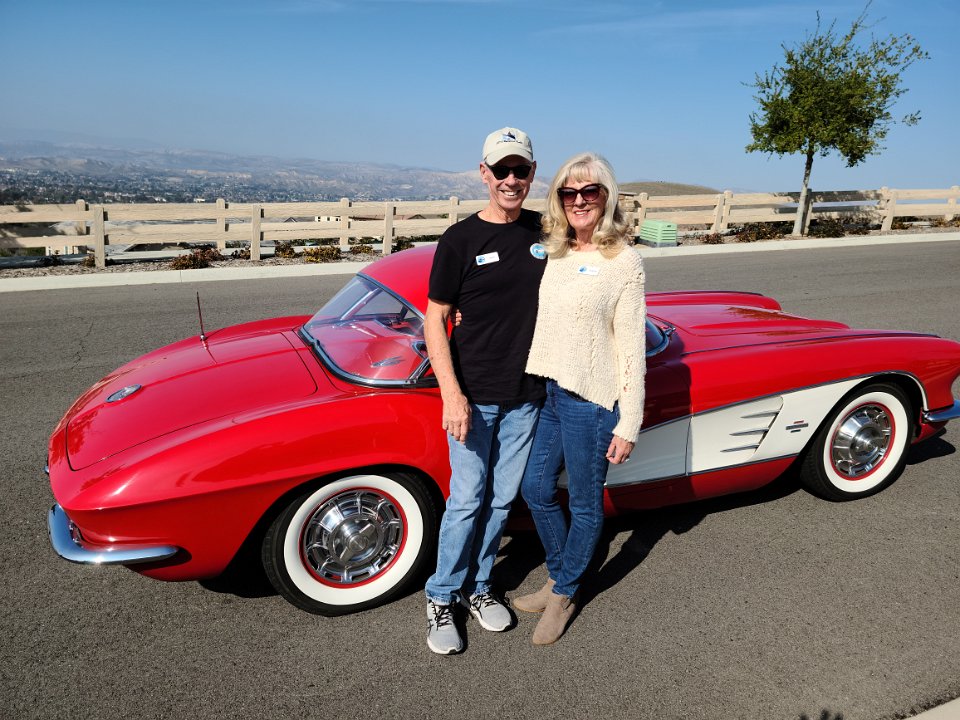
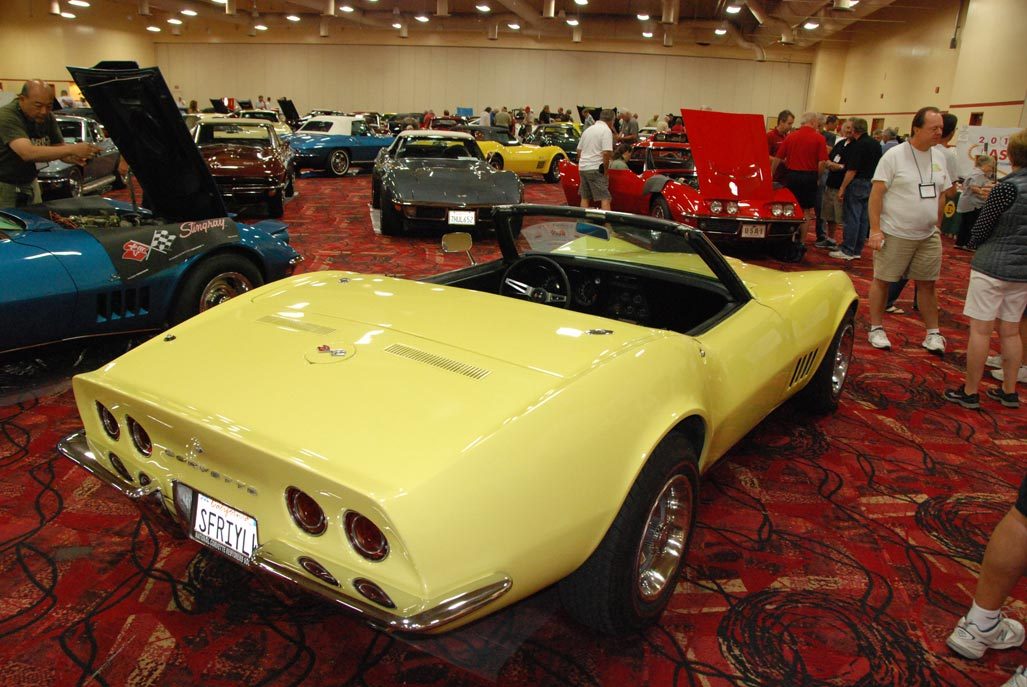
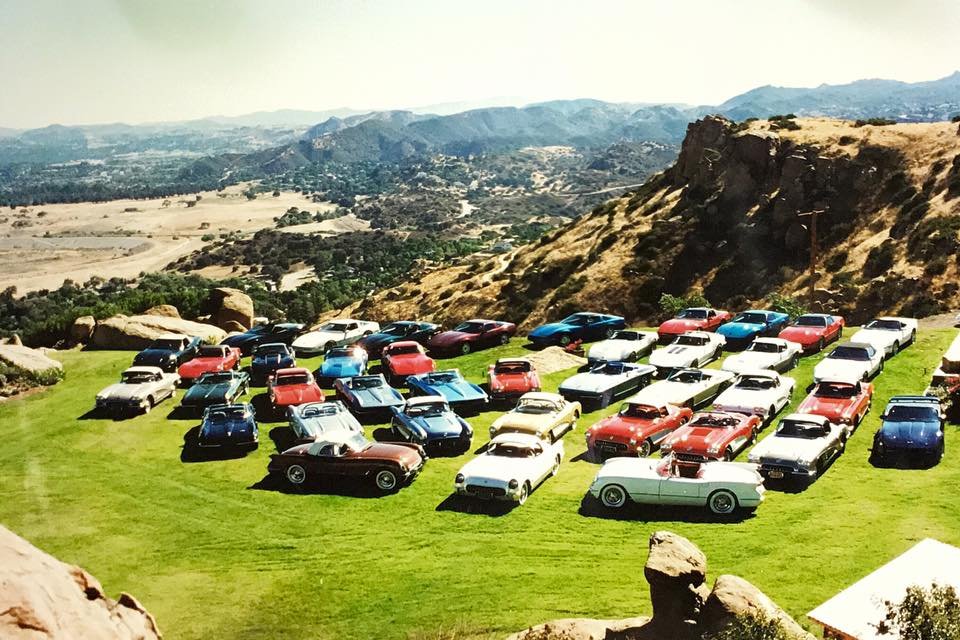
The first car show for "Safari" was June 11, 2011 at Rosies Diner, Redondo Beach CA. It was sponsored by The Vette Set club. This was something new: participating in a Corvette show as an owner, not a spectator.
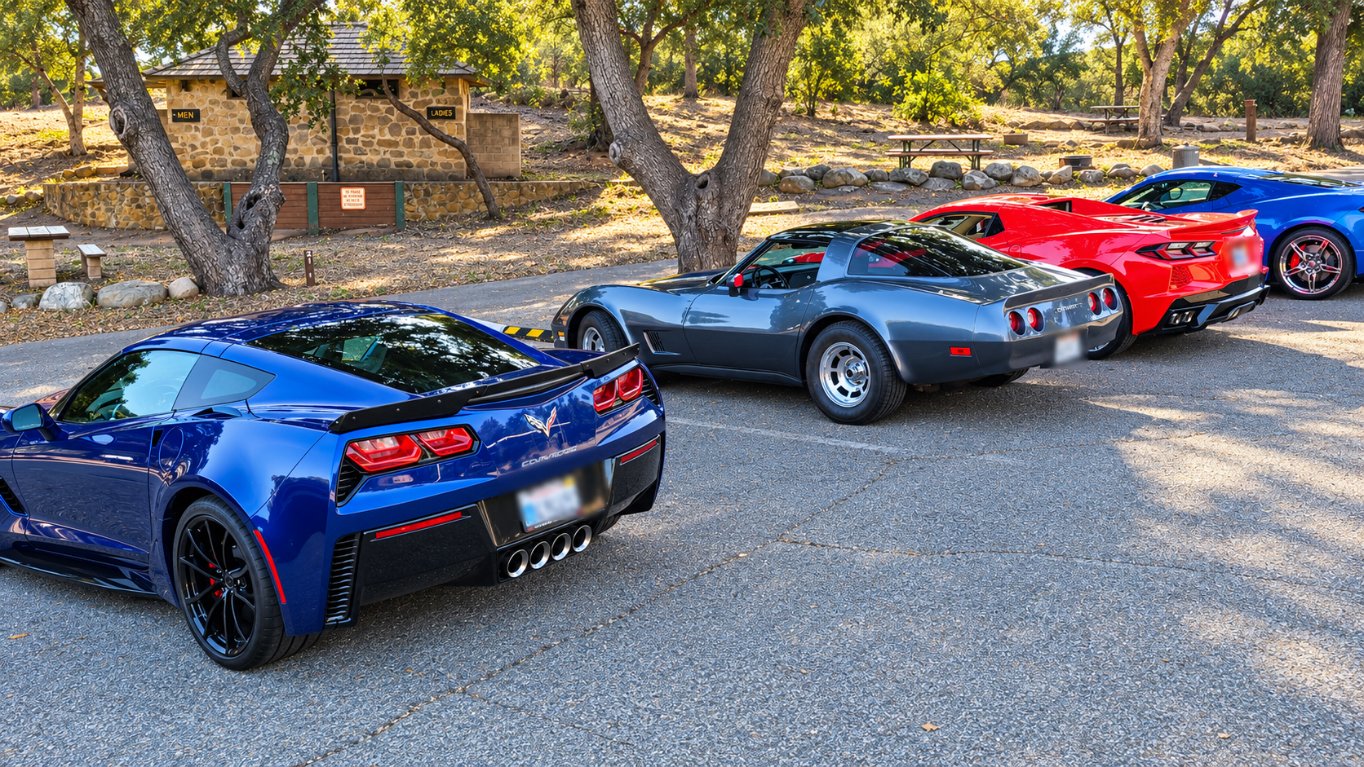
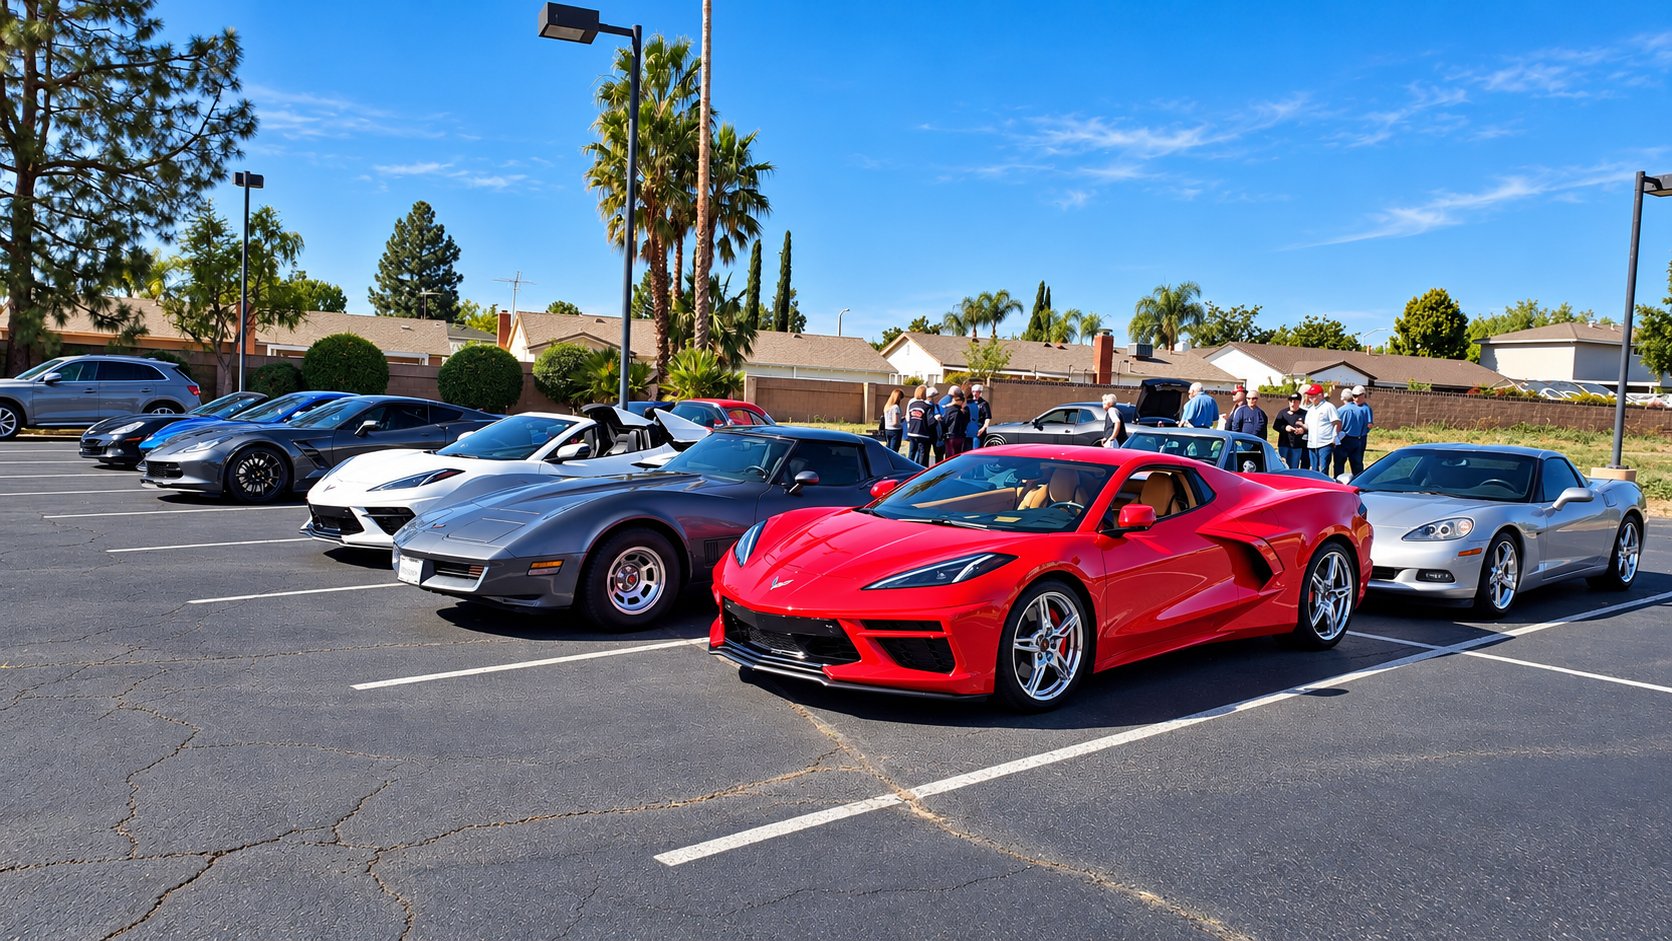
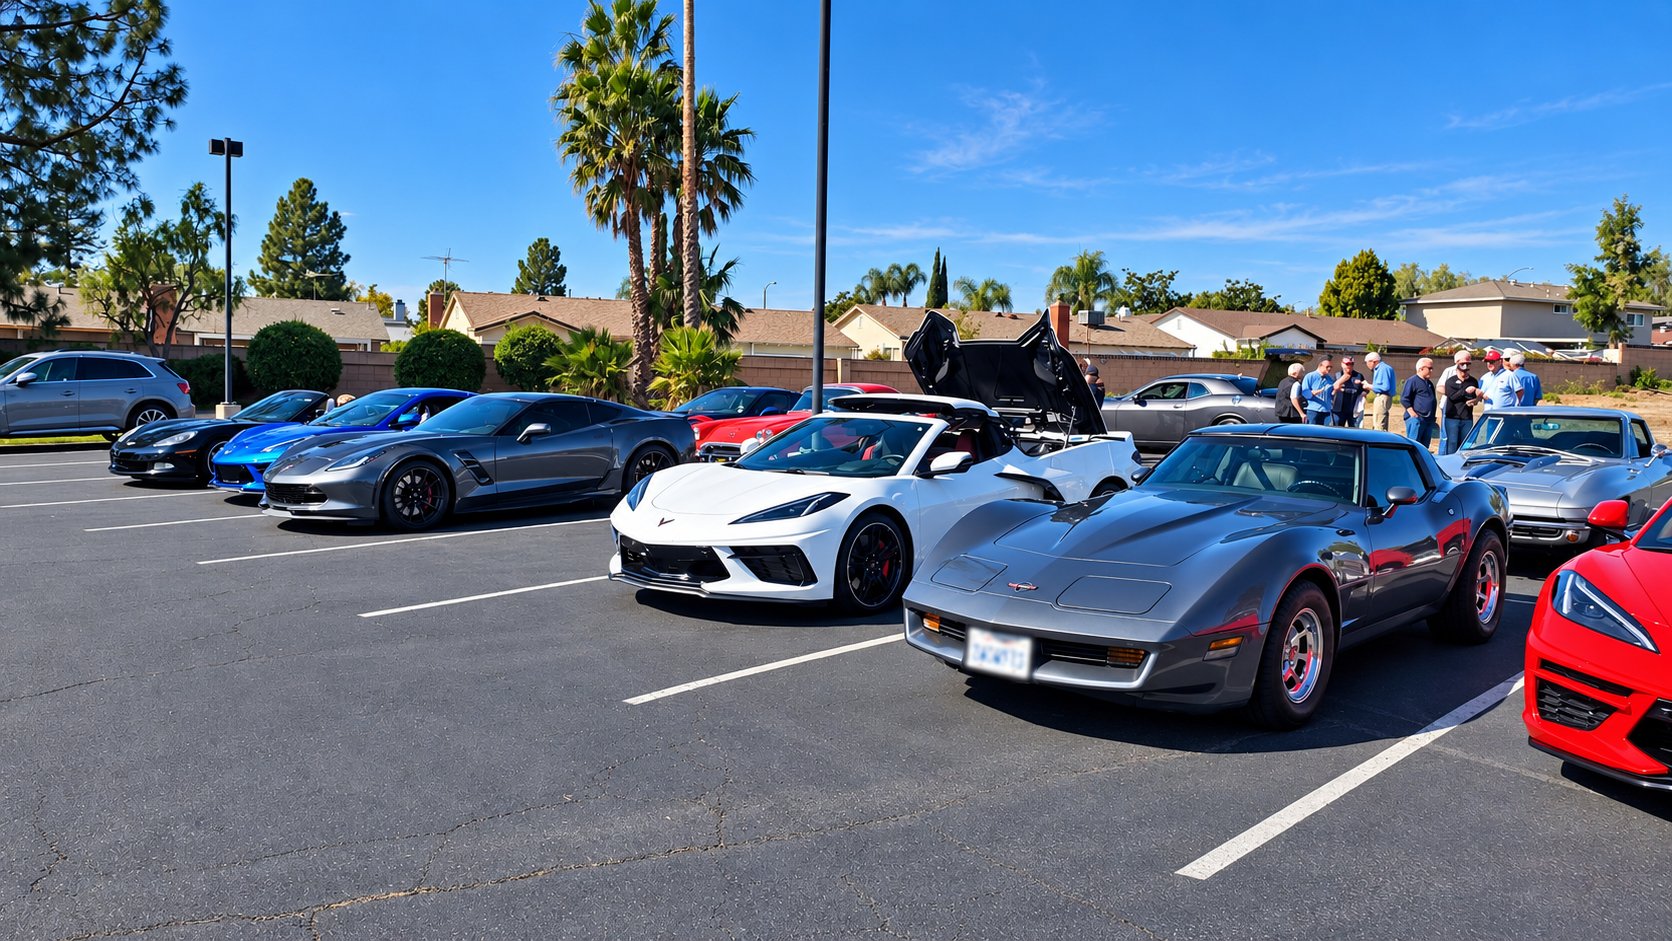
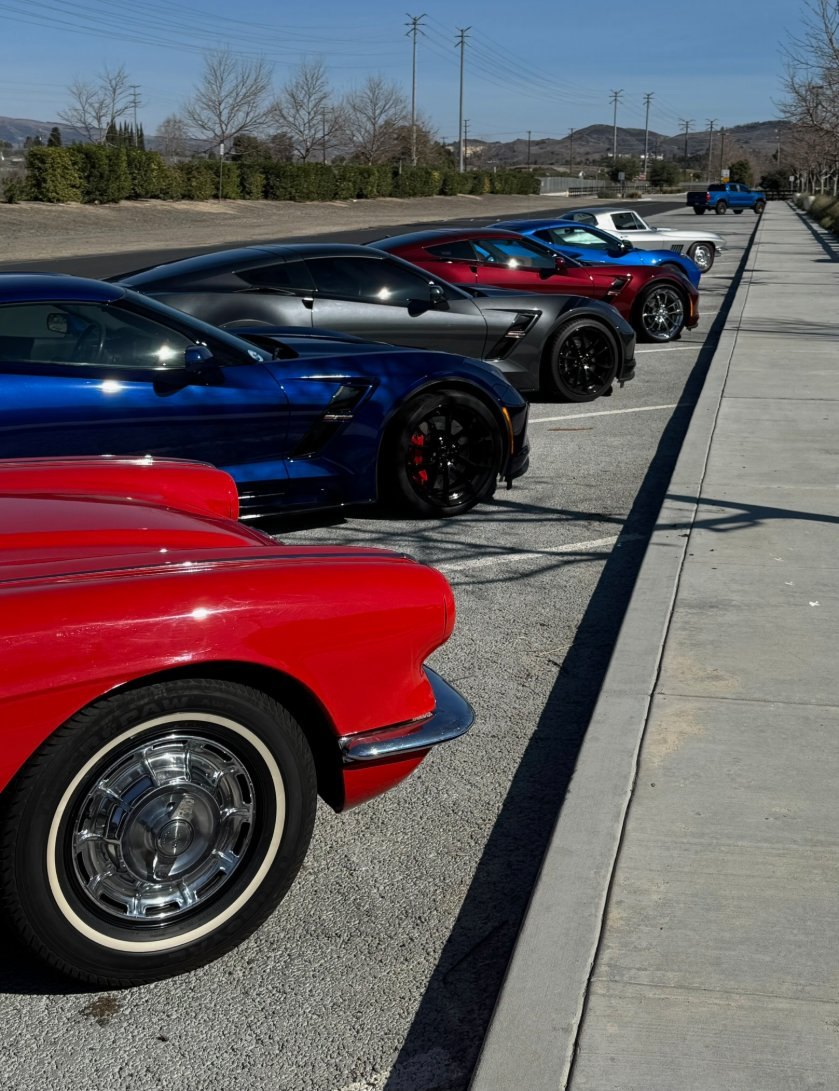
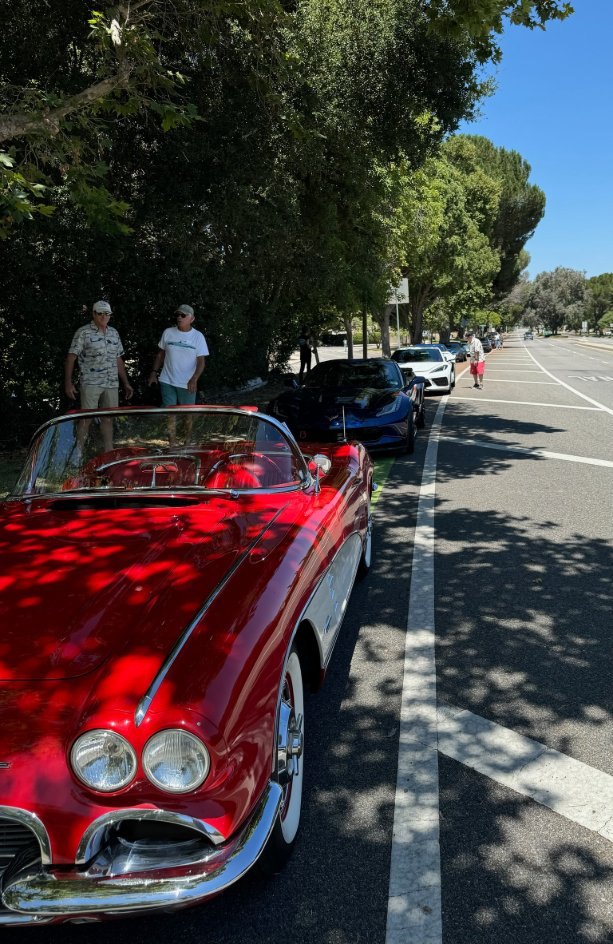
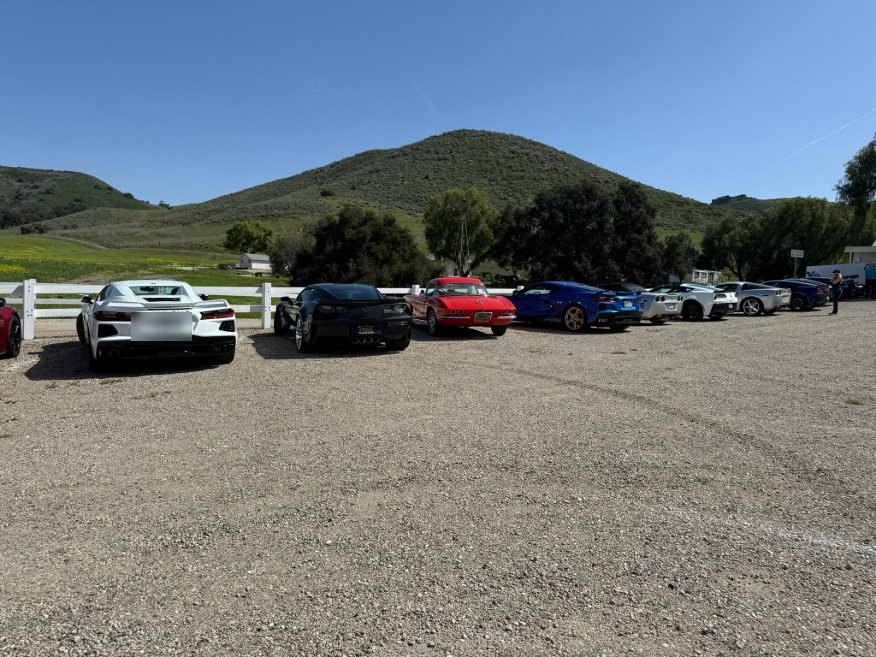
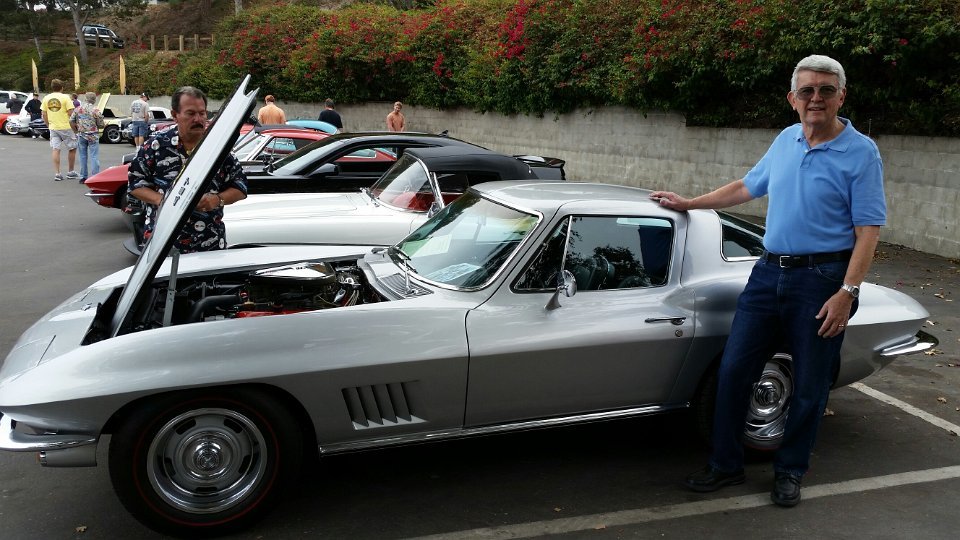
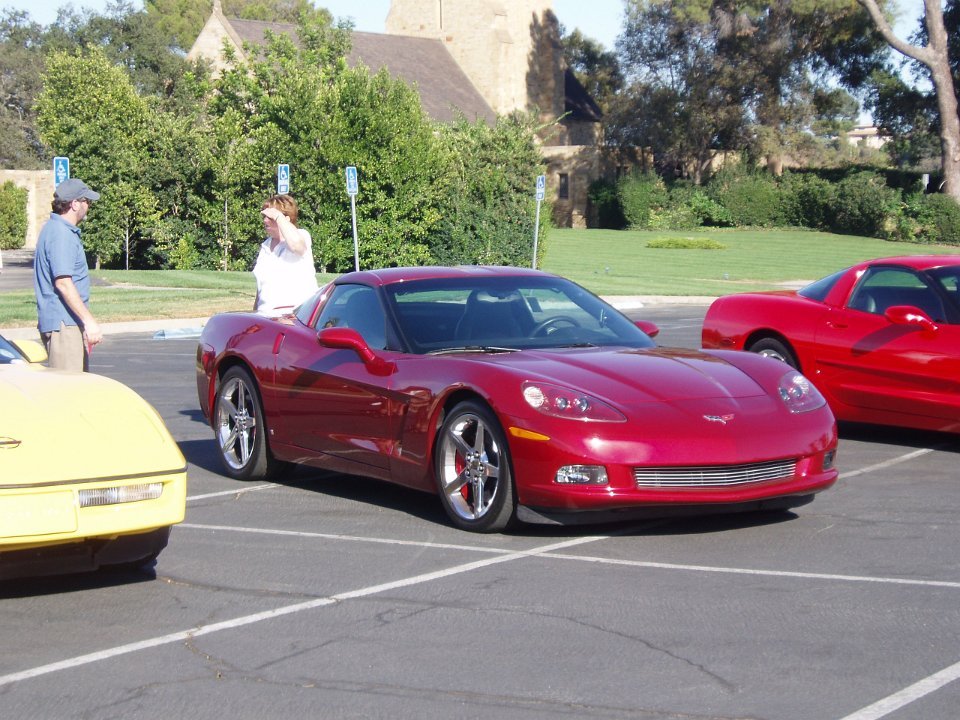
Appearance at Super Car Sunday, a regular Sunday morning gathering in Woodland Hills. Surrounded by the blue oval competition, Safari was confident.
Mechanic's Review
About a week after the purchase, I had a PPI performed. PPI normally is short for "Pre Purchase Inspection" but in this case it stands for "Post Purchase Inspection". The original plan would be to have a knowledgeable Corvette Mechanic look it over before money was exchanged. I elected to bypass this normally important procedure in favor of securing what I could tell was a good deal. I did not want to snooze and lose.
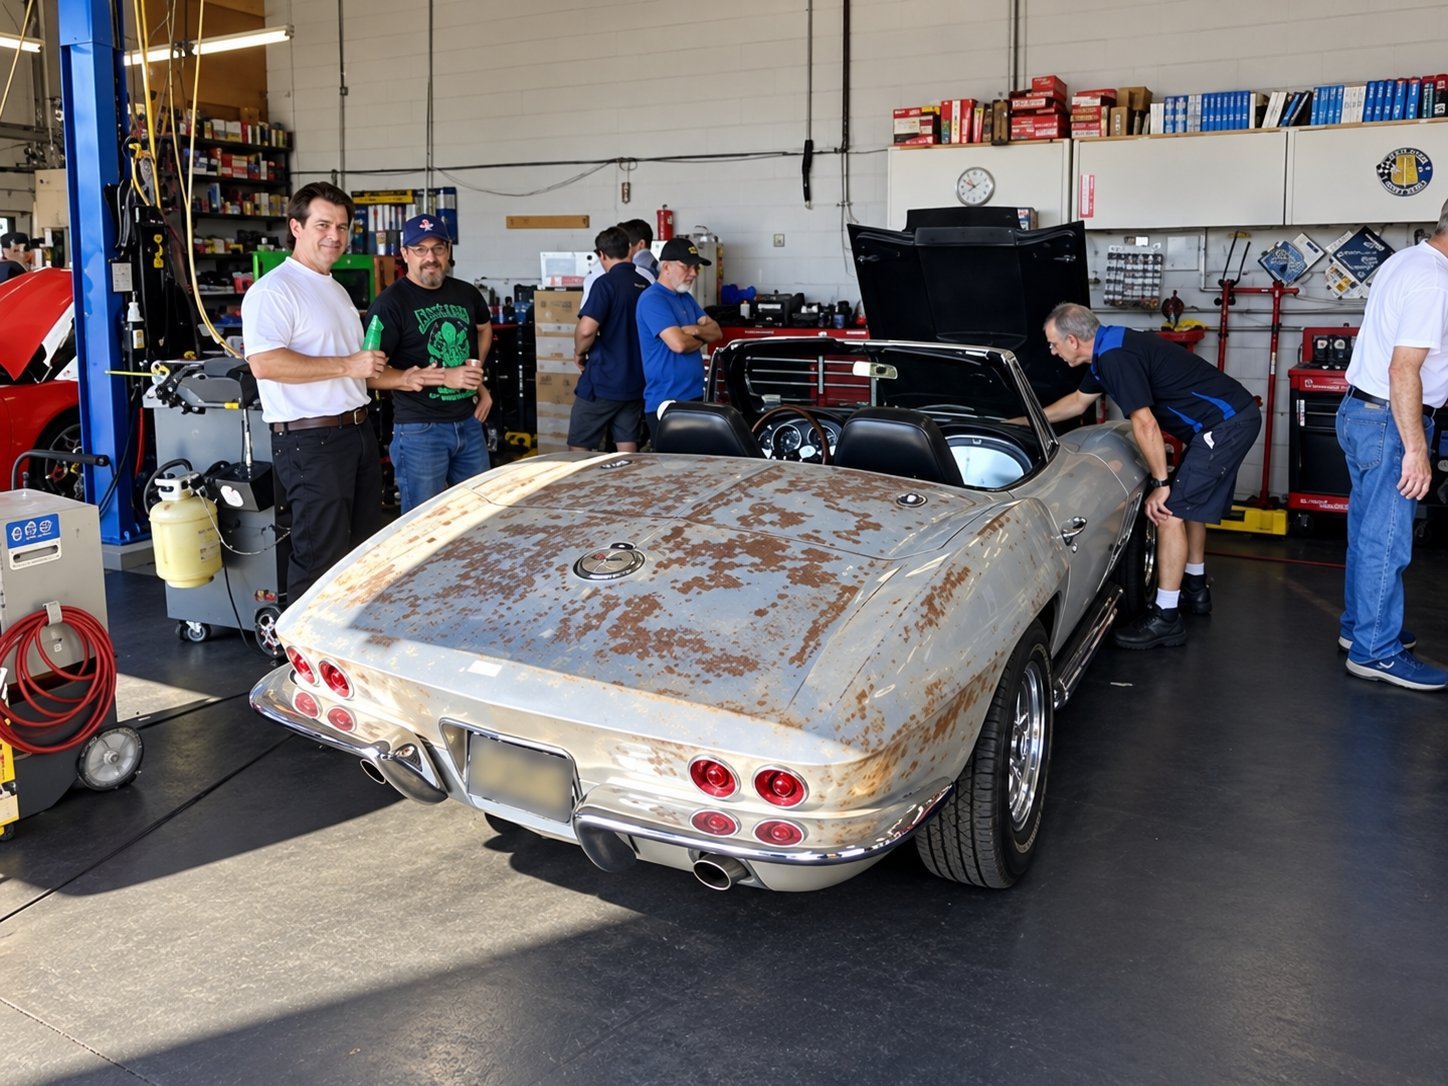
I took it to Mike Bradley of Mike Bradley Automotive, who had been recommended by another satisfied 1968 Corvette customer. I asked him to take it for a test drive and then to look it over carefully and see what could / should be done.
Mike test drove it and confirmed what I had suspected: This was a good Corvette for a fair price. He thought it ran well with the carburetion and ignition in good working order.
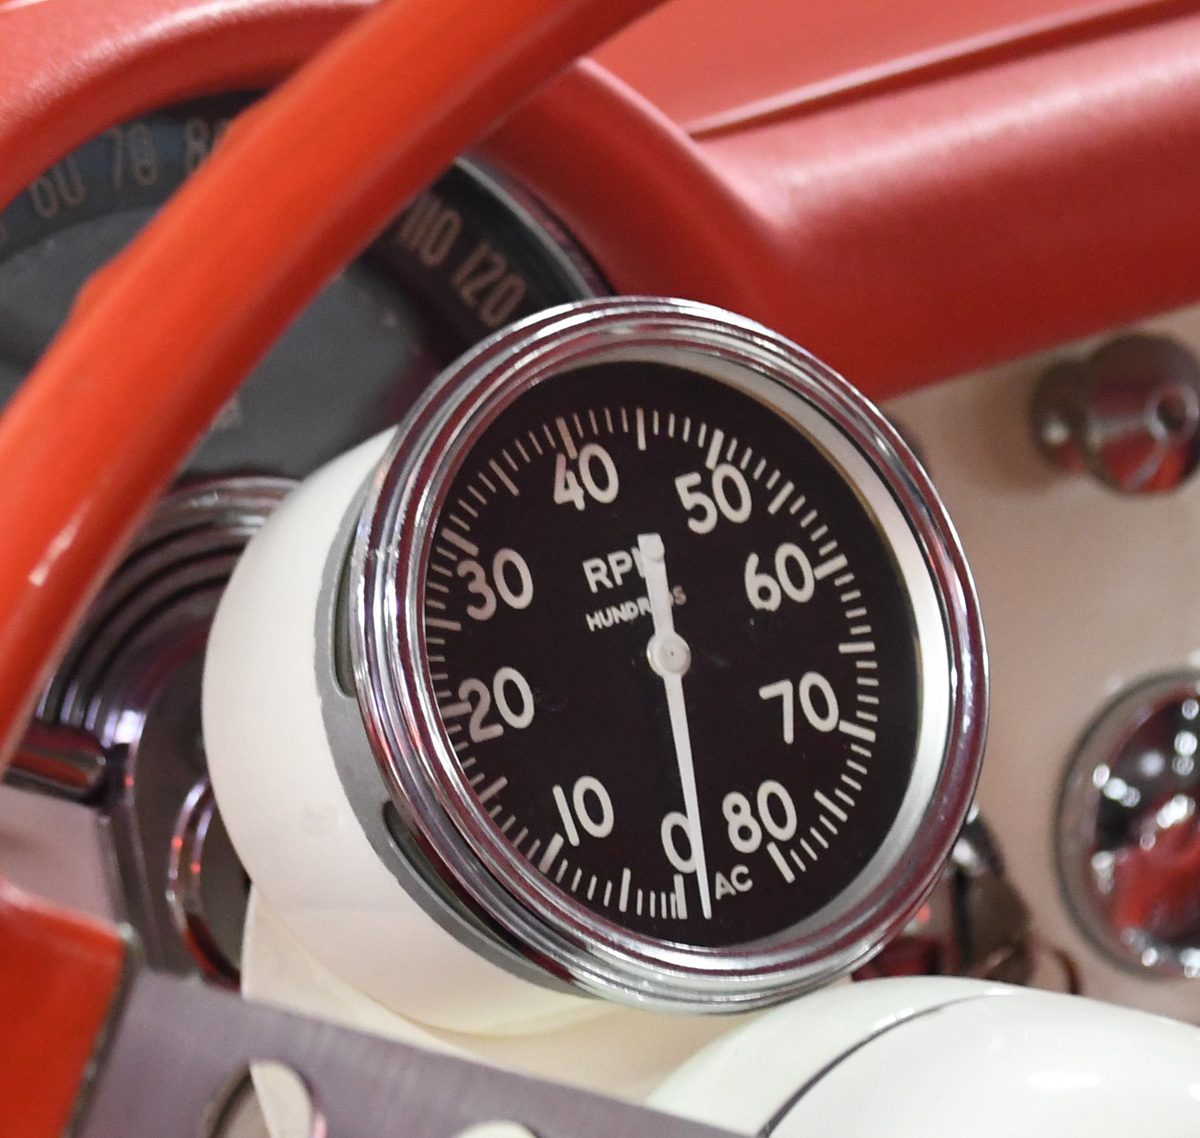
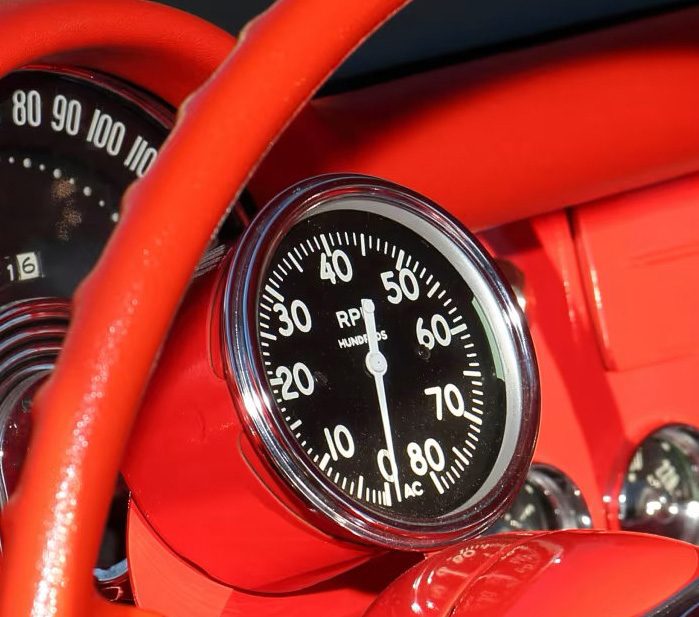
A top priority was to get the odometer repaired, so I would be able to track the fuel economy. Some "while your at it" reasoning resulted in having the tachometer, which is like the speedometer in that both are mechanical, rebuilt. The light switch was also replaced because the instrument panel dimmer was not working properly.
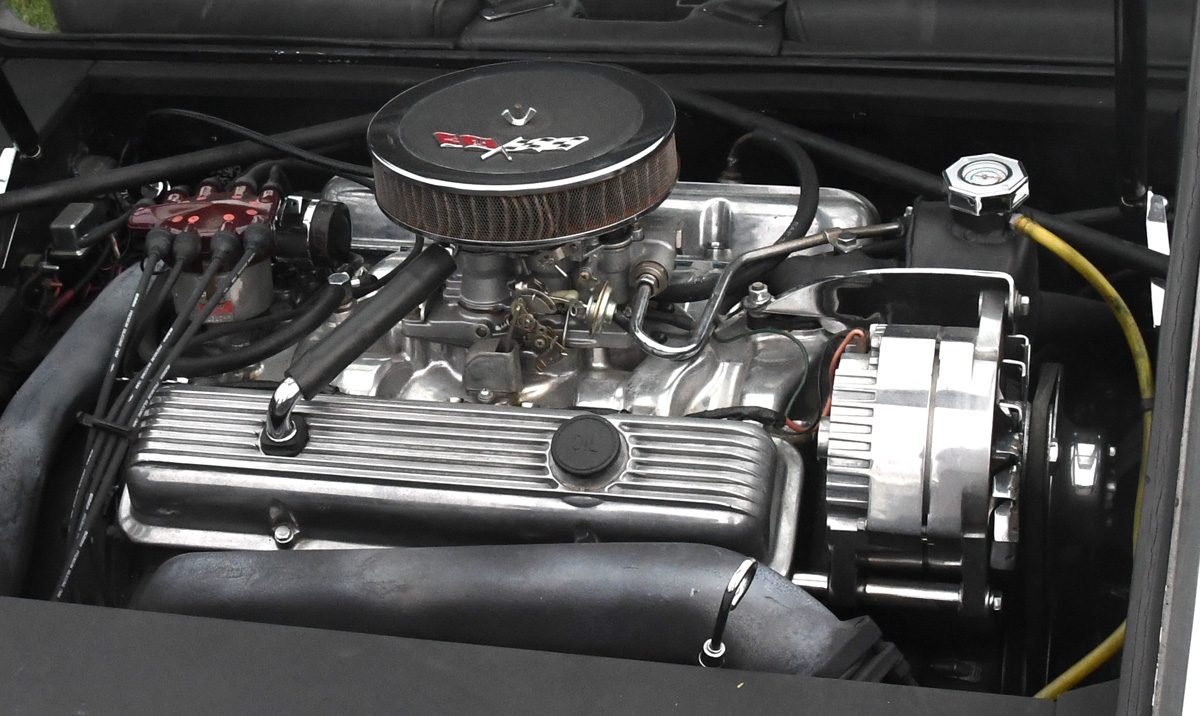
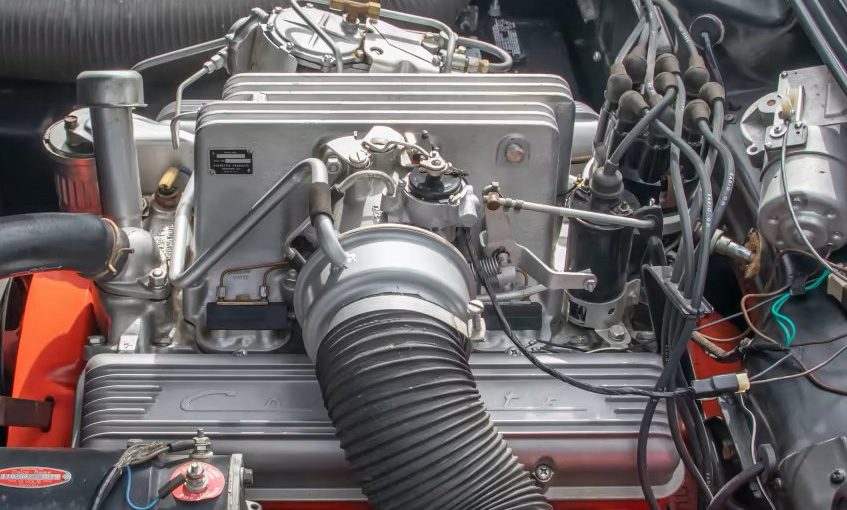
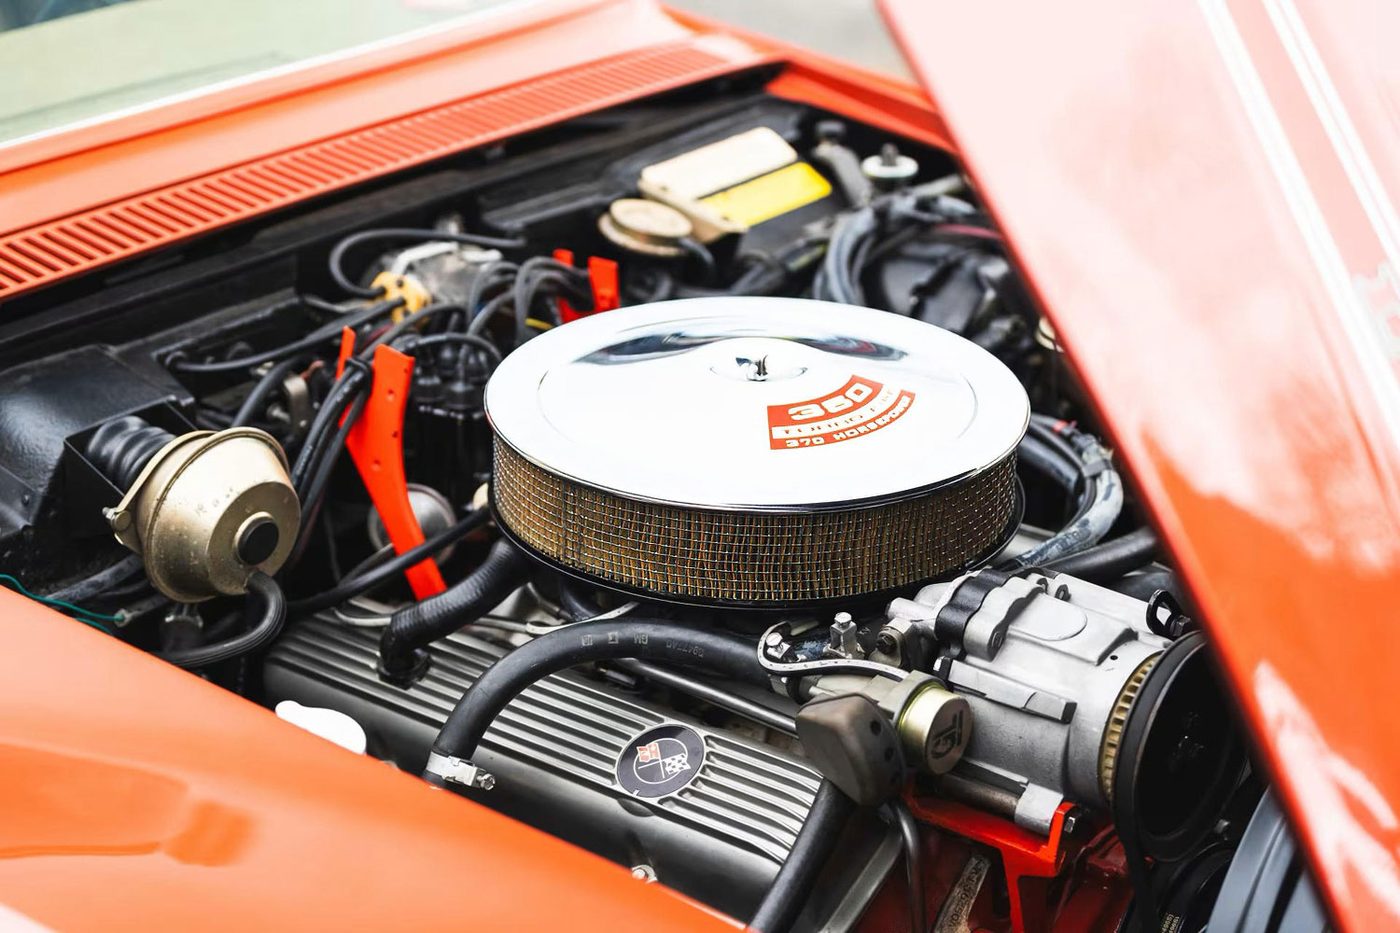
Mike Bradley reported that the carburetor was not original, as evidenced by the EGR port which was not found on the 1968 Quadrajet carbs.
Mike said that to him, the surface rust indicated that this Corvette had spent some time outside California. Fortunately the areas that mattered, such as the frame rails, birdcage and radiator support areas, were rust free.
The brakes did not feel right, so the decision was made to replace the rear calipers, which looked to be original, with rebuilt units. The front calipers had been recently replaced. But the brakes still were problematic. The would turn spongy and needed to be pumped up to work normally. We would bleed them, they would be OK for a few hundred miles, then the problem returned. Some Google research suggested that a rotor might be out of round. This didn't seem right, as there was no vibration feedback when the brakes were pumped. But we checked and the right rear rotor was .080" out; the specification called for no more than .008". The rear rotor was turned and the problem went away.
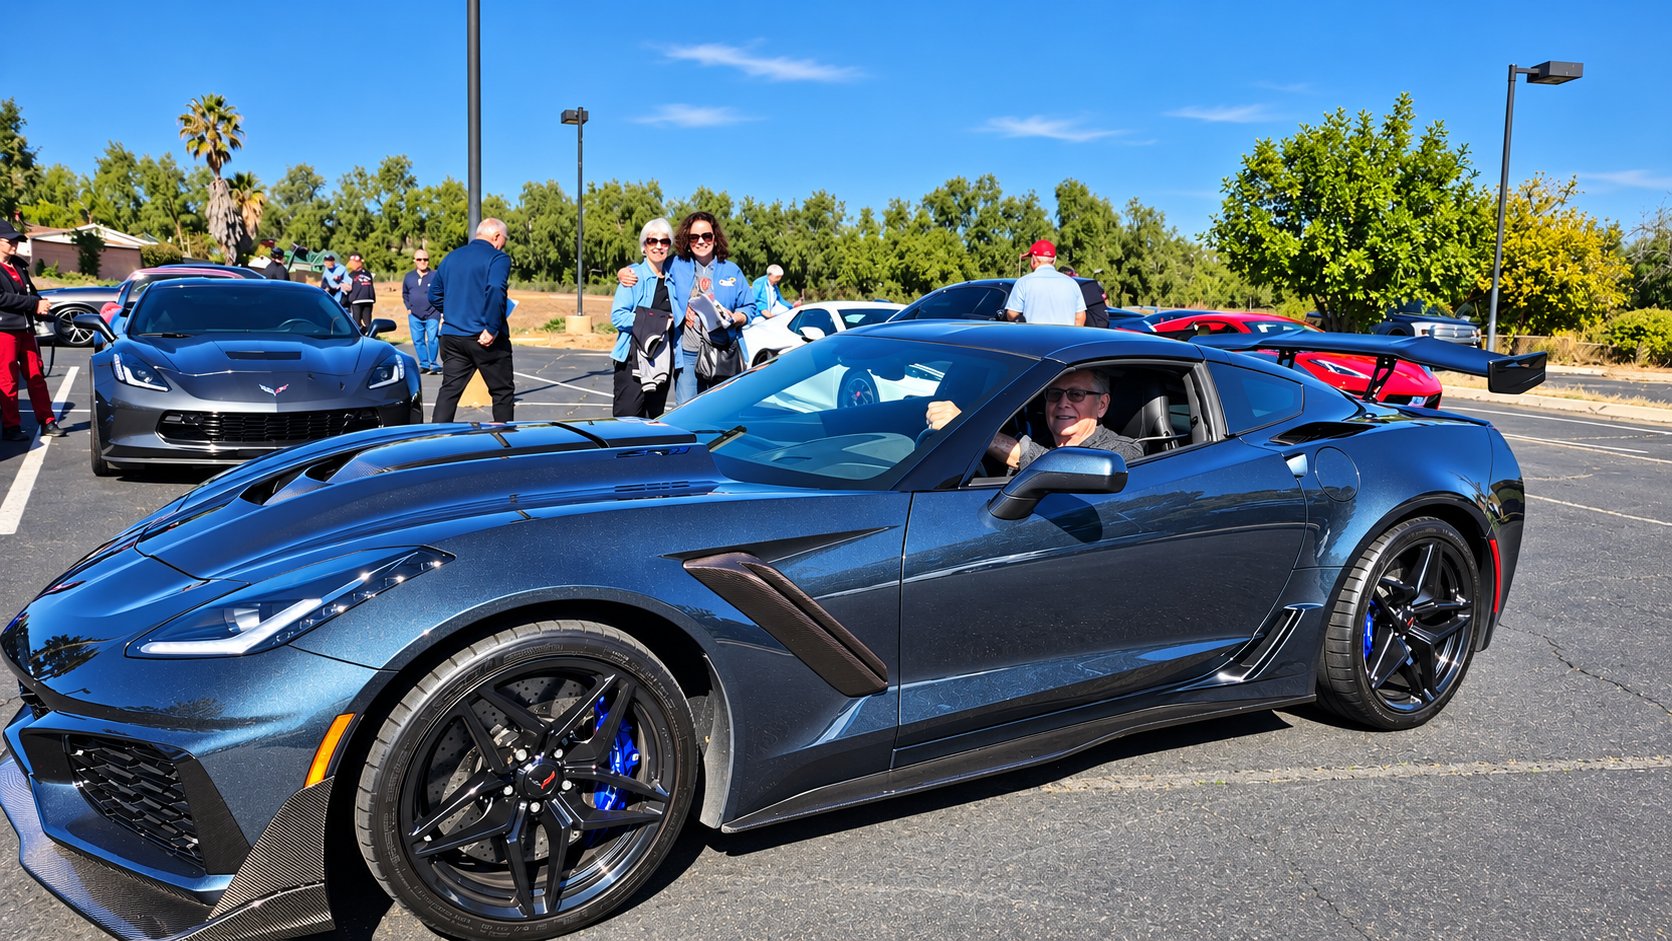
The judging, always a nervous time. Special thanks to spousal unit Francie who was very diligent with the detailing task.
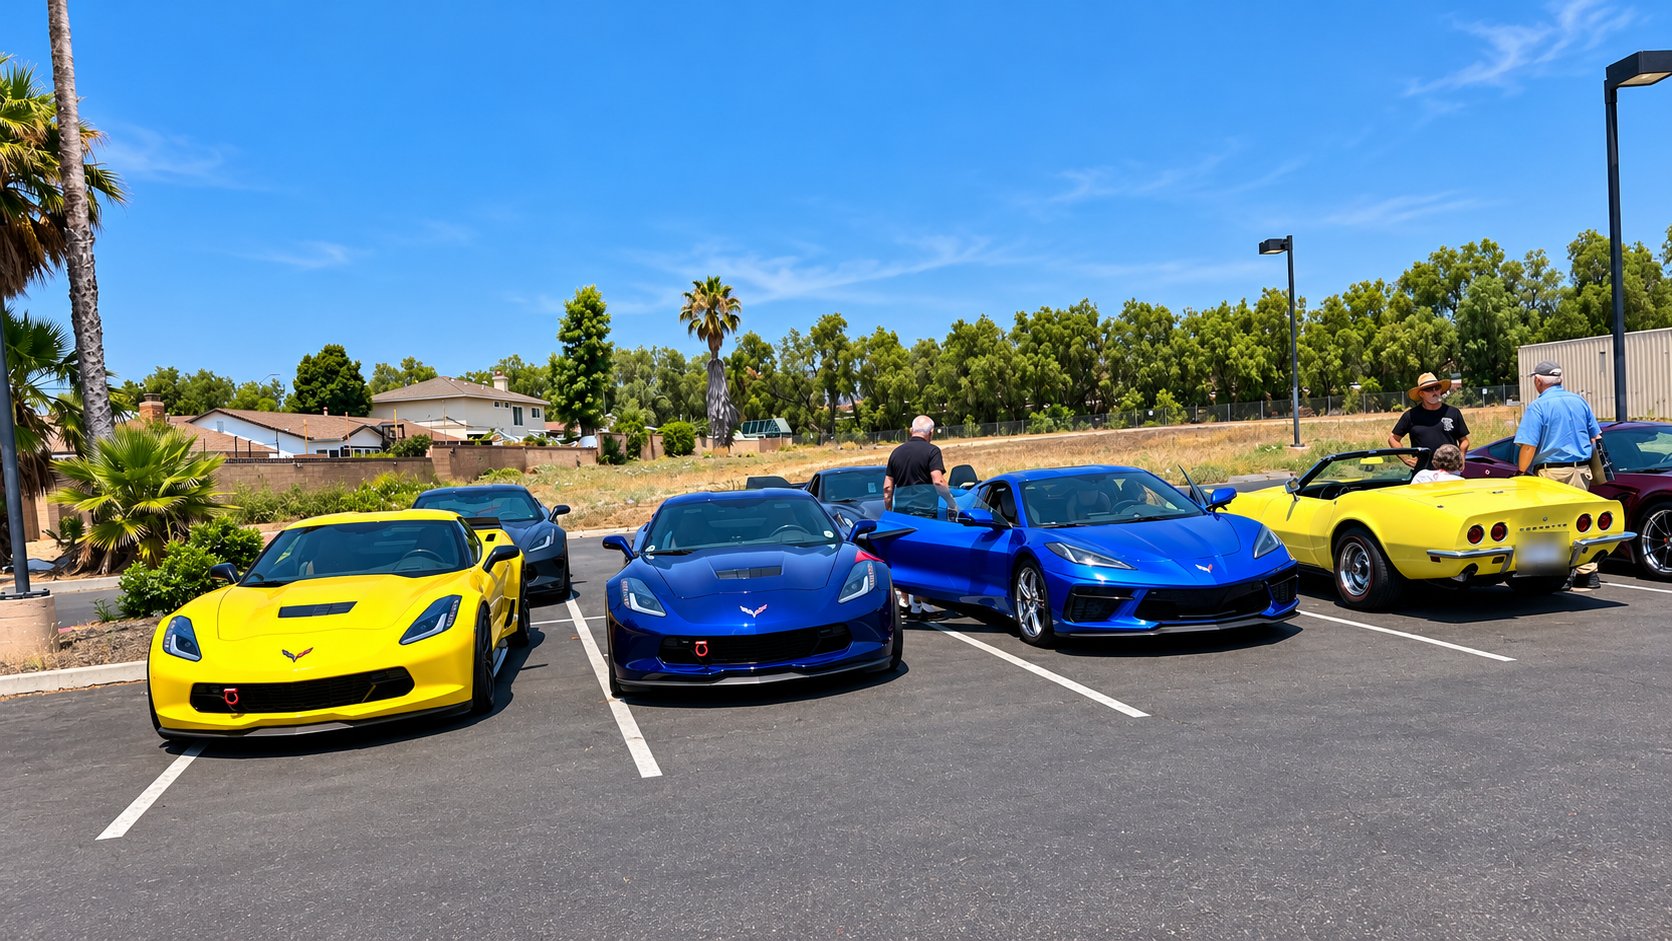
September 18, 2011 - Had a great time at the Redline Corvettes All Corvette Car Show in Thousand Oaks. "Safari" was entered in the Stock C3 Hoods Down category and took second place! Considering that the competition was of a high caliber, this was a pleasant surprise.
Carburetor Rebuild Time
A high priority has been a rebuild of the Rochester Quadrajet carburetor. The biggest reason was a fuel leak, so bad that if the car was sitting for a couple of days, all the gas would leak from the carburetor bowl. This meant that I would have to spend about 40 seconds cranking the motor which, with the mechanical fuel pump, was needed to fill the bowl so it would start. More than an embarrassing inconvenience, it was also a safety hazard. I had even started to carry a fire extinguisher.
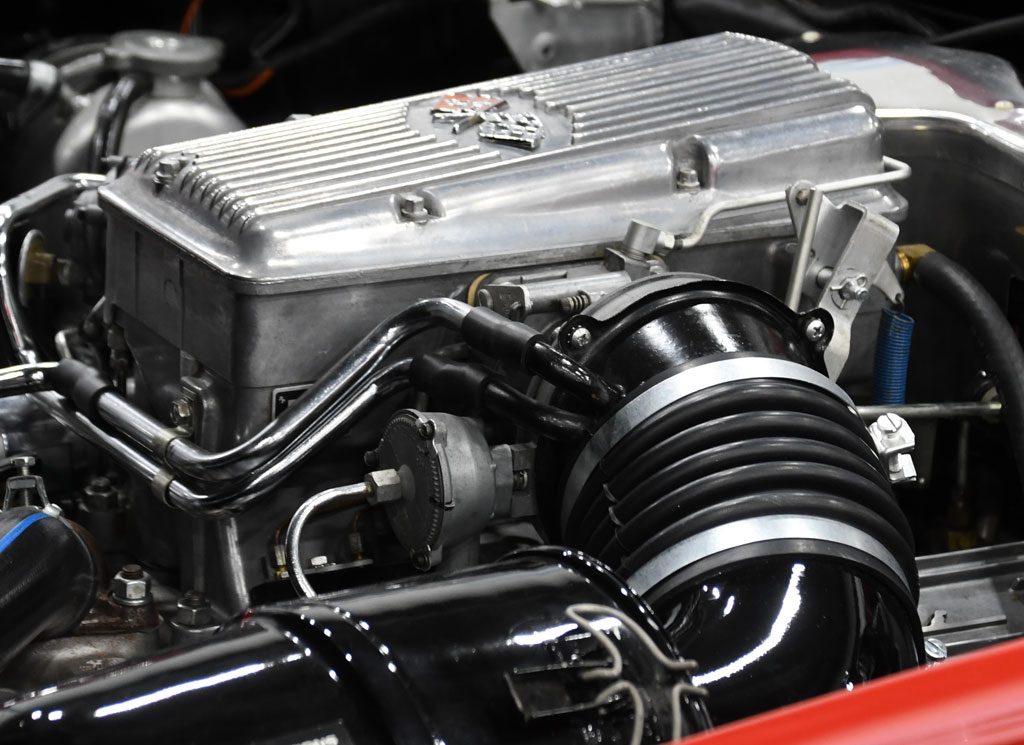
Introducing the Rochester Quadrajet Carburetor. It made it's first appearance in the Corvette in 1968; previously Holley products had been used. The Holley and Rochester Quadrajet shared Corvette fuel management duties until 1973 thru 1981 when the Quadrajet (sometimes referred to as the "Q-Jet") had exclusive rights.
The Rochester Quadrajet was always a controversial choice. It's detractors, who sometimes called it "Q-Junk", claimed it was needlessly complex. Fans of the Q-Jet pointed out that it was nicely versatile and fit the needs of both the performance folks and the general public. It should also be pointed out that it worked in an era where emissions requirements started to play a serious role.
Mike Bradley of Mike Bradley Automotive in Chatsworth CA took on the rebuild job. It really is a treat to watch a craftsman such as Mike do his work. He has some special tools that help the process, honed over years when he has done over a thousand Q-Jet rebuilds. Right: Mike reported the idle tubes had vibrated loose, a situation likely to cause mpg problems. The main well plugs were the cause of the fuel bowl leak; this was fixed with some epoxy, a common item in a Q-Jet rebuild.
The idle setting is adjusted with the aid of a "Emissions Inspection Analyzer". There's a bit of irony here - a '68 Corvette hooked up to a smog machine. It's about the only time that will happen as '68s are exempt from any smog inspection requirements here in California - one of the few breaks we get with these cars.
Does Anybody Really Know What Time It Is?
As the adage goes, "even a broken clock is accurate twice a day". That may be true but not very useful since you don't know when in the day it is correct. Page 19 of the 1968 Corvette manual states "Your clock should be cleaned and oiled periodically" but there are no instructions as to how to perform the maintenance and "periodically" is not defined. Another question: did anyone actually do this?
Safari's clock, like the one on so many other classic cars (Corvette and otherwise) had stopped working. Replacing gauges is miserable work on most cars but in the case of the early C3 Corvettes, it's not so bad. The center instrument cluster comes out with the removal of seven screws. There is also a pair of studs with nuts that mechanically connect the instrument cluster to the center console but in many cases (including this one!) they've been previously removed and not reinstalled and therefore are not a problem.
Replacing the clock went as well as could be reasonably expected. Once access to the gauge console is obtained it's a simple matter of removing two bolts with a nut driver, disconnecting the one electrical terminal for the clock and removing the bulb / socket and installing the new clock as illustrated above. I then proceeded to open a brew and congratulate myself on a job well done.
Not so fast. Five days later I decided to treat myself and take Safari to work. Climbed in, turned the key and nothing. There was no voltage anywhere in the car; somehow the battery had completely discharged.
I put the charger on the battery to introduce some electrical life in the car. After an overnight charge, I put an ammeter in series with the battery and found that with every electrical item in the car completely off, the current draw was around three amps! That's a fair amount, about what a set of tail lights might require, so it was little wonder the battery had died. My first suspicion was that I had been sold a defective clock. Since it was one of the items on the car that still function even with the car sitting still and the key off (the others being the radio memory, alarm, interior lights) and it was new, it was suspect number one.
I pulled apart the instrument cluster and disconnected the new clock only to find the current draw was still @ three amps. The clock was not the problem.
Read the below thread on the ncrs.org forum to see what happened next:
May 6th, 2012, 05:33 PM #1 Paul Pollock (54300) Subject: 1968 Current Drain Problem
All:
What would the expected current drain with the ignition switch off, doors closed, on a '68 convertible be?
Some background: I recently replaced the clock with an aftermarket unit. The new clock worked and the car started. About five days later I went to drive it to work and the (new) battery was completely dead. The clock wasn't even working as there was no voltage in the system.
After charging the battery I pulled the negative terminal and measured the current - approximately three amps!! That's way more than I would think it should be. I immediately suspected the new clock and removed it. But I still have around three amps of current draw, even with the ignition off and the doors closed.
I am now in trying to solve the problem by the ol' process of elimination. I have disconnected the factory alarm relay and the modern digital aftermarket radio (I do NOT trust those things!) along with the battery connection to the alternator. I also disconnected the gauges in the center console.
Does my '68 convertible have interior lights that go on when the doors are opened? Sorry for the dumb question but I don't recall seeing them and I am new to the car. It's too bright of a day now for me to give it a visual test. I know the center "glove box" compartment behind the seats has one but that one I can see but I can also witness a current difference of about .5 amps when I switch if off and on, so I know that isn't the problem. I can see the current increase to around 10 amps when I turn on the parking lights, so it is not like they are somehow accidentally on.
I do have a good DMM and an electronics background in my favor. I am considering pulling fuses one by one to see if the problem cab be further isolated.
As a matter of reference, my 1990 Mazda manual specified .020 amps of what they call "dark current". I had the chance to measure it and it was .005 amps.
Any ideas? I may start pulling fuses one by one to see if I can find the culprit, but am hoping to find a solution before resorting to that. I keep thinking that this problem only occurred after I replaced the clock, so I may have messed up something in the center instrument panel area. Before that I was able to go a week or two of inactivity and be able to start the car without a problem.
That posting was followed by this response:
May 6th, 2012, 05:54 PM #2 Jim T_____ Re: 1968 Current Drain Problem
Paul
I am long time owner of 1968 convertible, unplug the center "glove box" light. Mine has been disconnected for over thirty years. Next up is the windshield wiper switch. Start the car and turn on the windshield wipers, wet the windshield if you like, and let them do at least one swipe and using the windshield wiper switch turn off the windshield wipers. Now test for a current draw? Reason I mention the wiper switch is that if my wiper switch is "accidentally" turned on/off when the car is not running it will pull current until the car is started and the wiper switch is used to cycle the windshield wipers on/off. There is a inline plastic connection that is accessible from the jack storage area that I use to disable the glove box light from working.
My reply:
May 6th, 2012, 07:47 PM #4 Paul Pollock (54300) Infrequent User, Join Date January 9th, 2012, Posts: Re: 1968 Current Drain Problem
Jim:
As my ~30 year old cubical neighbor at the day job might say: "YOU DA MAN!!!"
It was exactly as you described. Cycling the wiper motor brought it all under control. Funny thing is, while I was working on the instrument console I noticed a bulb socket without a bulb. I didn't think much of it, figured it had been lost in the past or I had fumbled it loose. Since I had a spare I installed it. When it was all back together and I turned the key to the on position, a "WIPER O'RIDE" idiot light came on in the spot I had installed the bulb. I knew then that the problem was solved. Too bad the bulb hadn't been there all along, I could have saved myself some frustration.
Parasitic current is now around .030 amps, about what I would expect since it includes a modern digital radio (not my idea, no flames please) with it's memory requirements.
Thanks Jim for your prompt and excellent reply. Should you be in the Los Angeles area consider yourself do be due a beverage of your choice.
Now going for a celebration ride.
~paul
May 7th, 2012, 08:42 AM #5 Jim T_____ Extremely Frequent Poster Re: 1968 Current Drain Problem
Paul
good to hear that the wiper switch was the problem area. My 68's original glove box cover/lid is hard plastic (FEB built) and is not flat/straight enough any more to keep the glove box light off when the door is closed. This is why the switch was disconnected. Your convertible should have three interior lights, rotate your light switch counter-clock-wise and this action should illuminate a light in the cargo area near the drivers side spring/hinge that supports the deck lid. The other two lights are also exposed light bulbs in holders for the drivers and passengers foot well.
The switches in the front of each door opening controls the illumination of interior lights when the light switch is not used for this illumination. Our 68 does not have the "Wiper O'Ride" light. If the wiper electrical switch mounted at the bottom of the steering column that stops the wipers over the windshield so the wipers can be cleaned or changed should always be in the off position unless it is being used for wiper maintenance in stopping the wiper action.
May 7th, 2012, 09:21 AM #6 Paul Pollock (54300) Infrequent User Re: 1968 Current Drain Problem
My '68 is a late July build. It still has the glove box light functional but I'll be aware that the switch can go awry. I now see the interior lights but they do not work, something I'll have to look into. In my case the wiper switch near the steering column is the only way I can get the wipers to function - the switch at the top of the center instrument cluster does not work. It's always something with cars of this nature, is that part of their charm?
Thanks again for your excellent help.
Regards,
Paul Pollock
WebCars! Webmaster
http://web-cars.com
There is a moral to this story. Be proactive and join your local Corvette club. If you have (or even just appreciate) C3 and earlier Corvettes, then the NCRS (National Corvette Restorers Society) is highly recommended. Classic Corvettes may not be that difficult to own, but they do have their challenges. Organizations such as the NCRS can be an excellent resource for whatever issues that involve Corvette ownership.
This is a classic example; only 21 minutes after my posting an excellent response was available. It doesn't get any better than that.